
When you’re RV camping or backpacking, having lightweight, nutritious meals ready to go can make your trip so much easier. Store-bought dehydrated meals can be expensive, but making your own is cheaper, healthier, and allows you to customize flavors.
In this guide, we’ll walk you through how to dehydrate meals for camping and backpacking, what foods work best, and how to store them for maximum freshness.
Why Make Your Own Dehydrated Meals?
✔ Save Money – Commercial backpacking meals can cost $8–$12 per serving. DIY versions are a fraction of the price.
✔ Customize Your Meals – You control the ingredients, flavors, and portion sizes.
✔ Reduce Weight & Space – Dehydrated meals weigh far less and take up less room in your RV or backpack.
✔ Long Shelf Life – Properly stored dehydrated meals can last for months or even years.
What Foods Can You Dehydrate?
Best Foods for Dehydrating
🥩 Proteins – Ground beef, shredded chicken, tofu, beans.
🌾 Grains – Rice, pasta, quinoa, couscous.
🥕 Vegetables – Bell peppers, carrots, peas, corn, onions, spinach.
🍏 Fruits – Apples, bananas, strawberries, blueberries, mangoes.
🍜 Complete Meals – Chili, soups, stews, pasta dishes, risotto.
Foods to Avoid
🚫 High-Fat Foods – Oils, butter, cheese (they can go rancid).
🚫 Dairy – Milk and soft cheeses don’t dehydrate well.
🚫 Eggs – Fresh eggs don’t work (but you can buy powdered eggs).
🌟 Pro Tip: If you want cheese in your meal, bring powdered cheese or add fresh cheese at camp.
Step 1: Cook & Prepare Your Meals
1️⃣ Cook your meal as you normally would, but skip any added fats or oils.
2️⃣ Chop vegetables and proteins into small pieces so they dry evenly.
3️⃣ Season lightly (some spices intensify during dehydration).
4️⃣ Drain excess moisture before dehydrating.
🌟 Best DIY Backpacking Meals to Dehydrate:
✔ Chili – Dehydrates and rehydrates beautifully.
✔ Pasta with Meat Sauce – Cook, mix, and dehydrate the whole dish.
✔ Curry & Rice – Mildly spiced curries hold up well.
✔ Lentil Soup – Light, filling, and packed with protein.
✔ Stir-Fry with Quinoa – Quick to cook and rehydrate.
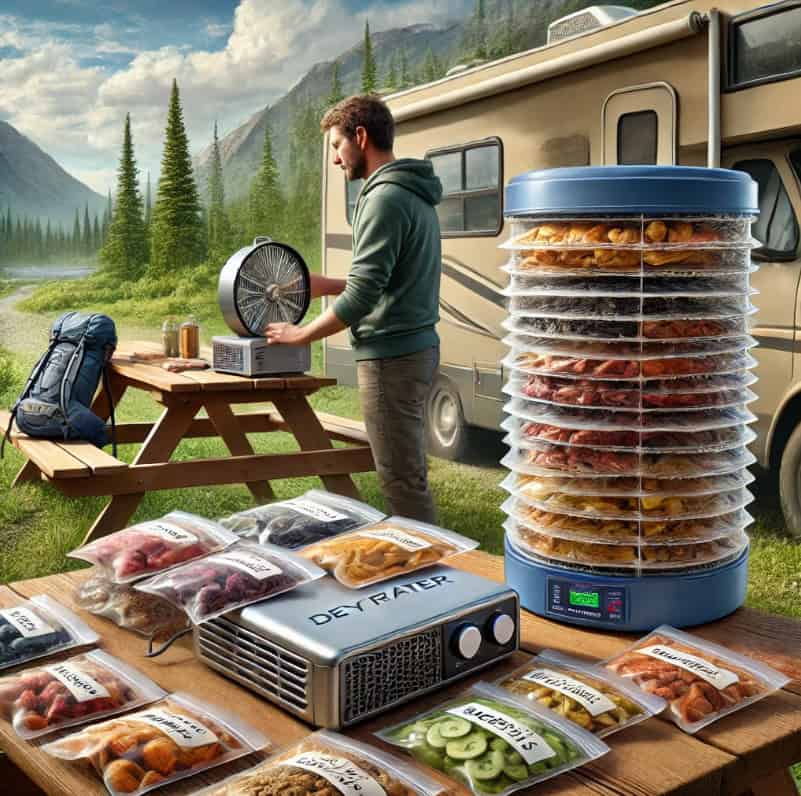
Step 2: Dehydrate the Food
🔆 Using a Dehydrator (Best Method):
1️⃣ Spread food evenly on dehydrator trays.
2️⃣ Set to 125–135°F (52–57°C) for vegetables and 145°F (63°C) for meats.
3️⃣ Let it run for 6–12 hours until fully dry.
🔥 Using an Oven (If You Don’t Have a Dehydrator):
1️⃣ Set the oven to lowest temp (around 170°F / 76°C).
2️⃣ Spread food on a baking sheet lined with parchment paper.
3️⃣ Keep the oven door slightly open to let moisture escape.
4️⃣ Stir food occasionally and dry for 4–8 hours.
🌟 Pro Tip: The food is ready when it snaps instead of bends. If it feels chewy, dry it longer.
Step 3: Store & Pack Your Meals
1️⃣ Let food cool completely before storing (to prevent condensation).
2️⃣ Pack in airtight bags or containers.
3️⃣ Use a vacuum sealer for the longest shelf life.
4️⃣ Label each bag with the meal name and date.
5️⃣ Store in a cool, dry place (or freeze for extra longevity).
🌟 Pro Tip: Adding oxygen absorbers to bags extends shelf life for up to a year.
Step 4: Rehydrating & Cooking at Camp
1️⃣ Boil water (about 1 cup per serving).
2️⃣ Pour hot water into the bag or pot, covering the food completely.
3️⃣ Let it sit for 10–15 minutes, stirring occasionally.
4️⃣ Enjoy your fresh, lightweight meal!
🔥 Pro Tip: Some meals rehydrate better if you soak them for 30 minutes before heating.
Bonus: Simple DIY Dehydrated Meal Recipes
🌶 DIY Backpacking Chili
Ingredients:
- 1 lb cooked ground beef
- 1 can black beans (drained)
- 1 can diced tomatoes
- ½ cup corn
- ½ cup diced bell peppers
- 1 tsp chili powder
- 1 tsp cumin
- ½ tsp garlic powder
Instructions:
✔ Cook everything together, drain, and dehydrate at 145°F for 8–10 hours.
✔ Store in vacuum-sealed bags.
✔ Rehydrate with 1 cup hot water per serving at camp.
🍛 DIY Curry & Rice
Ingredients:
- 1 cup cooked rice
- ½ cup lentils
- ½ cup peas & carrots
- 1 tbsp curry powder
- 1 cup coconut milk (dehydrate separately)
Instructions:
✔ Mix all ingredients except coconut milk, then dehydrate at 130°F for 8 hours.
✔ Rehydrate with 1 cup boiling water, add coconut milk powder, and enjoy!
Final Thoughts: Why Every RVer Should Try Dehydrating Meals
Making your own dehydrated meals is easy, cost-effective, and perfect for camping, RVing, and backpacking. It lets you eat well on the road without the weight or hassle of fresh food.
✔ Saves money compared to store-bought meals.
✔ Easy to customize flavors & ingredients.
✔ Great for long road trips, boondocking, and emergency prep.
🚐 Have you tried dehydrating your own camping meals? Let us know your favorite recipes in the comments!