
Managing RV waste tanks might not be the most exciting part of RV life, but it’s one of the most important. A well-maintained system means no clogs, no bad smells, and no nasty surprises.
Whether you’re a first-time RVer or looking to improve your waste management routine, this guide covers the best practices for keeping your holding tanks clean, odor-free, and running smoothly.
Understanding Your RV Holding Tanks
Your RV has three main tanks, each with a different purpose:
✔ Freshwater Tank – Stores clean water for drinking, cooking, and showering.
✔ Gray Water Tank – Holds used water from sinks and showers.
✔ Black Water Tank – Collects waste from the toilet.
💡 Why It’s Important: Proper waste management prevents odors, tank buildup, and clogs, ensuring your RV stays clean and functional.
1. Use the Right RV Toilet Paper 🚽
Not all toilet paper is RV-friendly! Regular toilet paper doesn’t break down easily, leading to clogs.
Best Practices:
✔ Use rapid-dissolving, RV-safe toilet paper.
✔ If in doubt, do a toilet paper test – Place a few sheets in water and shake the jar. If it dissolves quickly, it’s safe for your tank.
💡 Pro Tip: Some RVers prefer using biodegradable toilet paper or septic-safe options found at camping stores.
2. Always Use Tank Treatments & Enzymes
A good tank treatment helps break down waste and eliminates odors.
Best Practices:
✔ Use enzyme-based or biodegradable treatments to break down solids.
✔ Drop-in tank pods make treatment easy and mess-free.
✔ Avoid using harsh chemicals like bleach, which can damage tank seals.
💡 Pro Tip: Add a gallon of water to the black tank before use—this prevents waste from sticking to the bottom.
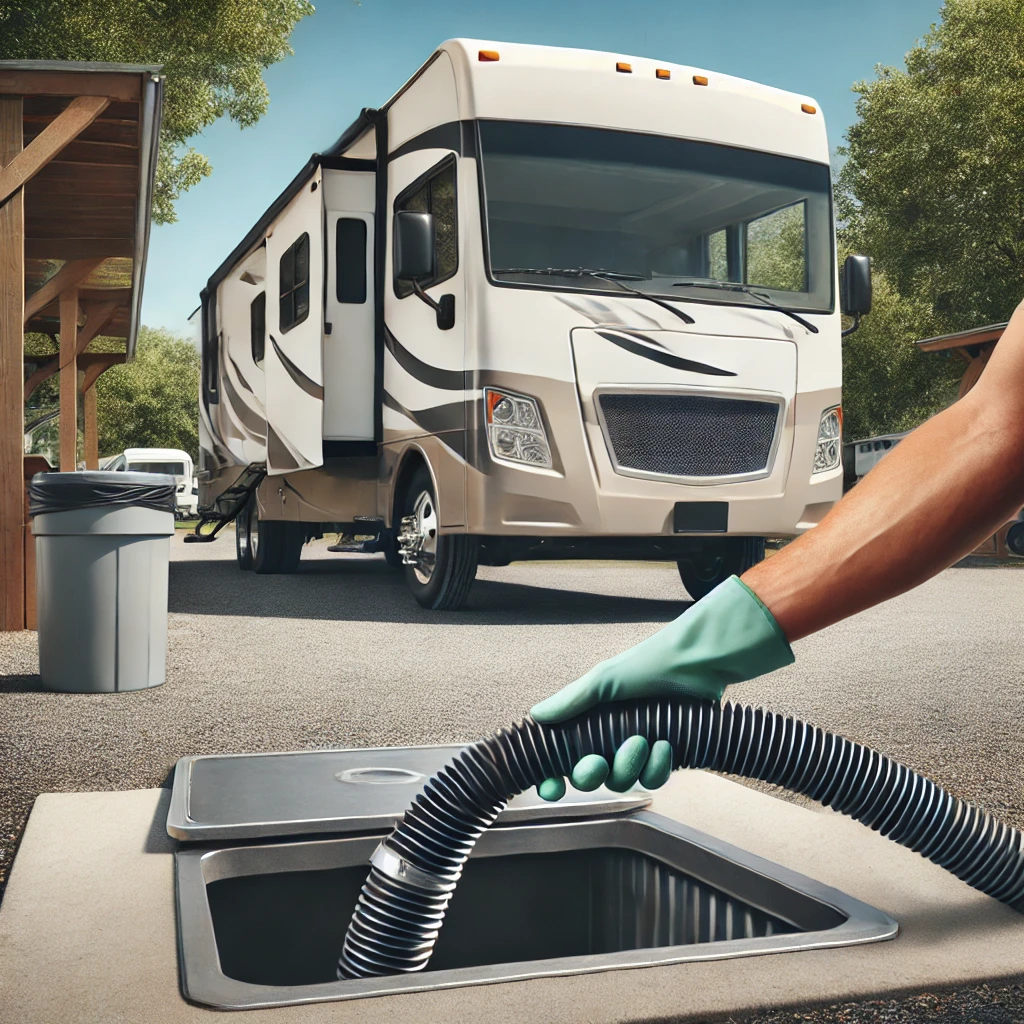
3. Dump Your Tanks the Right Way
Emptying your tanks incorrectly can lead to clogs, nasty odors, or even damage to your RV’s plumbing system.
Best Practices:
✔ Dump your black tank first, then the gray tank – The soapy gray water helps rinse out the sewer hose.
✔ Use a clear elbow fitting on your sewer hose to monitor waste flow.
✔ Never leave the black tank valve open while camping—this causes solid waste buildup (aka the dreaded poop pyramid!).
💡 Pro Tip: Dump your tanks when they’re at least ⅔ full—this creates enough force to flush out waste properly.
4. Rinse & Clean Your Tanks After Every Dump
Leaving waste behind in your black tank can lead to clogs and terrible smells.
Best Practices:
✔ Use a built-in black tank flush if your RV has one.
✔ If not, use a tank wand to spray down the inside.
✔ Pour hot water down the toilet to help loosen any stuck waste.
💡 Pro Tip: Every few months, fill the black tank with water and let it sit overnight with a cleaning treatment for a deep clean.
5. Keep Odors Under Control
Nobody wants a smelly RV! Keeping odors away is easier than you think.
Best Practices:
✔ Always keep a little water in the toilet bowl to block sewer gases.
✔ Use RV holding tank deodorizers to control smells.
✔ Keep roof vents open for proper airflow.
💡 Pro Tip: Avoid dumping your black tank too often—a fuller tank actually breaks down waste better!
6. Watch What Goes Down the Drain
Your gray water tank can smell just as bad as the black tank if you’re not careful!
Best Practices:
✔ Use drain strainers in sinks to catch food debris.
✔ Avoid pouring grease or oily substances down the drain.
✔ Flush the gray tank with baking soda and vinegar to keep it fresh.
💡 Pro Tip: Some RVers add a few drops of dish soap to the gray tank for extra odor control.
7. Store Your Sewer Hose the Right Way
Keeping your sewer hose clean and properly stored prevents leaks and contamination.
Best Practices:
✔ Use a dedicated storage tube or container—never store your sewer hose inside the RV!
✔ Always rinse your hose thoroughly before putting it away.
✔ Keep gloves and disinfectant wipes handy for dumping.
💡 Pro Tip: Have a spare sewer hose—just in case yours fails while traveling!
8. Plan Ahead for Dump Stations
Not every campsite has a dump station, so plan where to empty your tanks before your trip.
Best Practices:
✔ Use apps like RV Parky or Sanidumps to find nearby dump stations.
✔ If boondocking, bring a portable waste tank to transport waste to a dump station.
✔ Follow campground rules—never dump tanks illegally!
💡 Pro Tip: Some gas stations, truck stops, and even Cabela’s stores offer RV dump stations.
9. Winterizing Your Tanks for Cold Weather ❄️
If you’re camping in freezing temperatures, your tanks need extra protection.
Best Practices:
✔ Use RV antifreeze to prevent tanks from freezing.
✔ Install tank heating pads for subzero temps.
✔ Keep your furnace on low to protect the plumbing system.
💡 Pro Tip: If winter camping often, consider an RV with enclosed and insulated tanks.
Final Thoughts: Keep Your Tanks Clean & Your RV Smelling Fresh
Managing your RV holding tanks doesn’t have to be messy or stressful—stick to these best practices, and your system will stay in great shape!
✔ Use RV-safe toilet paper and tank treatments
✔ Dump tanks correctly and rinse them after every use
✔ Prevent odors with proper ventilation and cleaning
✔ Plan ahead for dump stations and cold weather
With good waste management habits, your RV trips will be cleaner, fresher, and way less stinky!