Keep Your RV Water Clean, Safe, and Great-Tasting! 🚐💦
Not sure if the water at your next campground is safe to drink? Installing an RV water filter can remove sediment, chlorine, bacteria, and bad odors—protecting both your health and your RV’s plumbing.
Whether you’re a full-time RVer or a weekend camper, setting up a DIY RV water filtration system is easy and affordable. Follow this step-by-step guide to get clean, great-tasting water in no time!
🔍 1. Why You Need an RV Water Filter
Just because water is clear doesn’t mean it’s clean. Many campgrounds, RV parks, and even city hookups have contaminants that can affect your water’s taste, safety, and impact on your RV’s plumbing system.
Common Water Contaminants in RV Hookups:
🚱 Sediment & Rust – Clogs pipes and appliances.
🚱 Chlorine & Chemicals – Affects taste and can damage plumbing.
🚱 Bacteria & Viruses – Can cause illness if untreated.
🚱 Hard Water Minerals – Causes buildup in pipes, sinks, and water heaters.
🌟 Pro Tip: Even if you drink bottled water, filtering your RV water prevents sediment buildup in your plumbing, shower, and faucets!
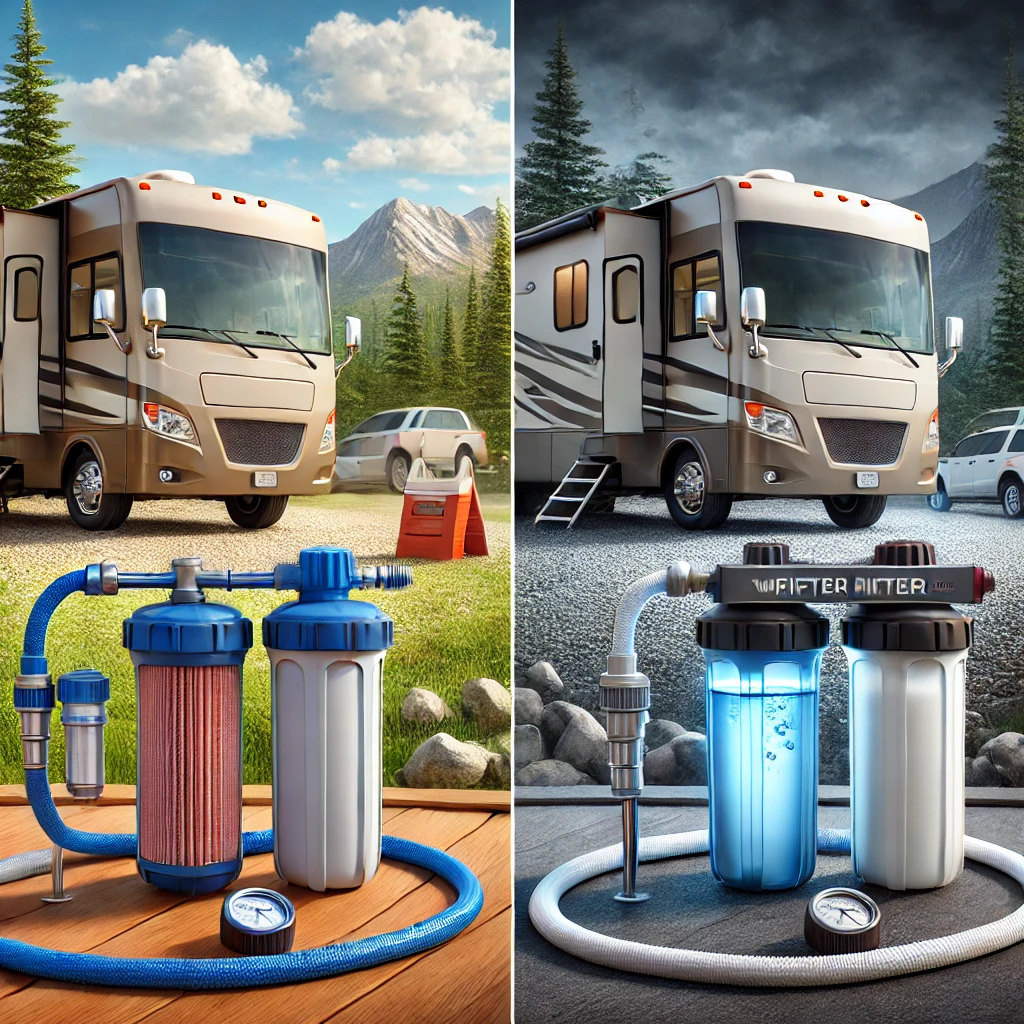
💧 2. Choosing the Right RV Water Filter
There are three main types of RV water filtration systems. Choose the one that fits your needs and budget.
🚰 Option 1: Inline Water Filter (Easiest & Cheapest)
✔ Attaches directly to your hose.
✔ Filters sediment, chlorine, and some chemicals.
✔ Easy to install—just screw it onto the hose.
❌ Limited filtration—won’t remove heavy metals or bacteria.
Best for: Campers who need basic filtration for taste & sediment control.
🏕️ Option 2: Canister (Multi-Stage) Water Filter (Best for Full-Time RVers)
✔ Uses multiple filters (sediment, carbon, and specialty filters).
✔ Removes chlorine, metals, bacteria, and odors.
✔ Longer-lasting and higher flow rate than inline filters.
❌ Requires mounting outside the RV or in a storage bay.
Best for: Full-time RVers who want cleaner, safer water.
🔬 Option 3: Reverse Osmosis System (Most Advanced)
✔ Removes 99% of contaminants, including heavy metals and bacteria.
✔ Produces bottled water-quality drinking water.
❌ Wastes more water (not ideal for boondocking).
❌ More complex installation and maintenance.
Best for: Those who want the highest level of filtration for drinking water.
🌟 Pro Tip: Many RVers use both a whole-RV canister system + an under-sink reverse osmosis system for drinking water!
🛠️ 3. How to Install an Inline Water Filter (Easiest Method)
If you want a quick and simple filtration setup, an inline water filter is your best choice.
✅ Step 1: Gather Your Supplies
🔹 Inline RV water filter (Camco, Clear2O, etc.)
🔹 RV drinking water hose (not a garden hose!)
🔹 Hose washers (to prevent leaks)
✅ Step 2: Connect the Filter to the Water Source
1️⃣ Screw the inline filter onto your RV’s fresh water hose.
2️⃣ Attach the other end of the hose to the campground water spigot.
3️⃣ If needed, attach a water pressure regulator before the filter to protect your RV’s plumbing.
🌟 Pro Tip: Make sure arrow direction on the filter matches water flow!
✅ Step 3: Flush the Filter
1️⃣ Turn on the campground water spigot.
2️⃣ Let the water run through the filter for 1-2 minutes to flush out any carbon dust.
3️⃣ Attach the other end of the hose to your RV’s city water inlet.
🌟 Pro Tip: Always use a hose stand or support to prevent stress on connections.
🔧 4. How to Install a Canister Water Filter System (For Whole-RV Filtration)
A canister system provides better filtration than inline filters and lasts much longer.
✅ Step 1: Gather Your Supplies
🔹 2- or 3-stage filter canister system (like Clearsource or Camco)
🔹 Sediment, carbon, and specialty filters
🔹 RV water hose + hose fittings
🔹 Hose clamps or mounting bracket
✅ Step 2: Connect the Canisters
1️⃣ Mount the filter system outside your RV (on the ground or in a storage bay).
2️⃣ Attach a water hose from the campground spigot to the filter inlet.
3️⃣ Attach another hose from the filter outlet to your RV’s city water connection.
🌟 Pro Tip: If camping in freezing temps, store the filter inside your RV’s storage bay to prevent freezing.
✅ Step 3: Flush & Test the System
1️⃣ Turn on the water slowly and check for leaks.
2️⃣ Let water run through for 3-5 minutes to flush new filters.
3️⃣ Check if water flows properly to your RV faucets.
🌟 Pro Tip: Replace sediment filters every 3-6 months and carbon filters every year for best performance.
💡 5. Maintenance & Troubleshooting
✅ How Often to Replace Your Filter
🔹 Inline Filters – Every 2-3 months or when flow slows down.
🔹 Canister Filters – Sediment filters every 3-6 months, carbon filters every 12 months.
🔹 Reverse Osmosis – Filters last 6 months to 2 years depending on use.
🚨 Common Water Filter Problems & Fixes
❌ Low Water Pressure?
✔ Check if the filter is clogged—replace if necessary.
✔ Remove any extra hose kinks.
❌ Leaking Connections?
✔ Use new hose washers and tighten fittings.
✔ Wrap threads with plumber’s tape if needed.
❌ Water Still Tastes Bad?
✔ Try replacing carbon filters.
✔ Flush the system with vinegar & water every few months.
🚀 Final Thoughts: Enjoy Clean Water Wherever You Go!
Installing an RV water filter protects your health, improves taste, and prevents plumbing issues. Whether you go with a simple inline filter or a multi-stage system, keeping your water clean and safe is easy with the right setup.
💦 Quick Recap: Installing an RV Water Filter
✔ Inline Filters – Easy, quick, but limited filtration.
✔ Canister Systems – Better filtration for full-time RVers.
✔ Reverse Osmosis – Best for drinking water, but wastes more water.
✔ Flush & maintain your filters regularly for the best results.
🚐💧 What’s your go-to RV water filter setup? Share your tips in the comments!