
Why Your RV Bathroom is a Mold Magnet
RV bathrooms are small, enclosed spaces that trap moisture—making them the perfect breeding ground for mold and mildew. Whether you’re showering, washing up, or just dealing with humid summer air, moisture builds up fast. Without proper prevention, you could be dealing with funky smells, stained walls, and even long-term damage to your RV.
The good news? With the right steps, you can keep your RV bathroom fresh, dry, and mold-free all year long. Here’s how!
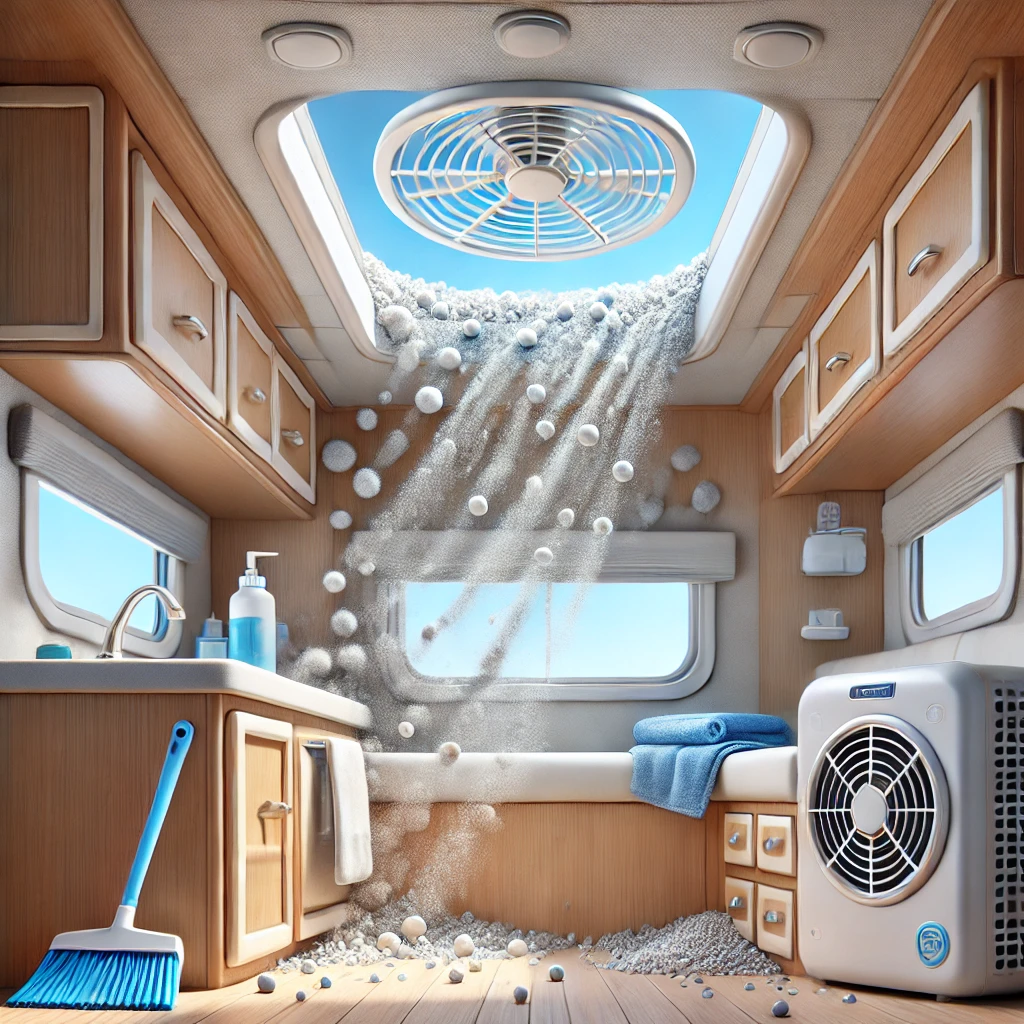
1. Ventilation is Key
Lack of airflow is one of the biggest culprits behind mold growth. Keep your bathroom well-ventilated by:
✅ Running the exhaust fan during and after showers
✅ Cracking open a window to let moisture escape
✅ Using a small, battery-operated fan to keep air moving
If your RV fan isn’t cutting it, consider upgrading to a high-powered vent fan.
2. Control Humidity Levels
Too much moisture in the air? That’s a problem. Keep humidity under control with these tips:
- Use DampRid or moisture-absorbing beads in cabinets and corners
- Invest in a mini dehumidifier if you camp in humid areas
- Keep your shower curtain or door open after use to allow drying
The goal is to keep your RV’s humidity below 50%—any higher, and mold spores start partying.
3. Wipe Down Surfaces After Showering
A quick wipe-down after every shower makes a huge difference. Keep a microfiber towel handy and:
✔️ Wipe down walls, mirrors, and counters
✔️ Use a squeegee on shower doors to prevent water buildup
✔️ Dry off the floor if there are any splashes
It takes less than a minute but helps keep mold and mildew from forming.
4. Switch to Mold-Resistant Materials
Some materials naturally resist mold better than others. If you’re remodeling or replacing things in your RV bathroom, consider:
🟢 Vinyl or plastic shower walls (instead of fabric curtains)
🟢 Silicone-based sealants that won’t absorb water
🟢 Moisture-resistant rugs that dry quickly
These upgrades can help stop mold before it starts.
5. Use the Right Cleaning Products
Regular cleaning helps prevent mold from taking hold. Skip the harsh chemicals and use these:
🧴 Vinegar & water mix – Natural and effective mold killer
🧴 Hydrogen peroxide spray – Great for disinfecting
🧴 Tea tree oil solution – Antifungal and smells fresh
Wipe down surfaces at least once a week to keep your bathroom in top shape.
6. Keep Your Plumbing in Check
Leaky faucets and slow-draining water create the perfect damp conditions for mold.
🛠️ Fix leaks as soon as you notice them
🛠️ Clean drains regularly to prevent clogs
🛠️ Use RV-friendly drain cleaners to avoid buildup
Even small drips can lead to big mold problems over time.
7. Store Items Properly
Wet towels, damp bath mats, and waterlogged sponges trap moisture and invite mildew.
🚫 Never leave wet towels or clothes bunched up in the bathroom
🚫 Avoid using thick, slow-drying bath mats
🚫 Store shampoo bottles upside-down to prevent mold in the caps
Instead, go for quick-drying towels and mats that don’t hold onto moisture.
8. Check Hidden Areas for Mold
Mold likes to hide in dark, damp places, so check these spots:
🔎 Behind the toilet – Especially if there’s a leak
🔎 Under the sink – Plumbing leaks cause unseen mold growth
🔎 Inside cabinets – Make sure there’s airflow
Catching mold early prevents bigger headaches later on.
Final Thoughts
Mold and mildew don’t belong in your RV bathroom! By keeping moisture under control, staying on top of cleaning, and using the right materials, you can keep your space fresh, clean, and mold-free—no matter where the road takes you.
🚐💨 Ready to upgrade your RV bathroom setup? Check out moisture-fighting essentials before your next trip!