Your RV’s roof seals are your first line of defense against leaks, water damage, and expensive repairs. Yet, they’re often overlooked until a major problem arises.
Regular roof seal inspections—at least once a year—can help prevent costly damage and keep your RV in top shape. Here’s why it’s essential and how to check and maintain your RV’s roof seals.
🚐 Why Annual Roof Seal Inspections Matter
1. Water Damage is Expensive & Hard to Fix
❌ A single leak can cause thousands in repairs.
❌ Water can seep into walls, causing mold, rot, and electrical damage.
❌ By the time you notice the problem inside, it’s already serious.
✔ A simple roof inspection and reseal once a year can save you huge repair costs in the future.
2. Roof Seals Dry Out & Crack Over Time
🏜️ UV rays, heat, and weather wear down sealants.
🌧️ Rain, snow, and temperature changes cause expansion and contraction, leading to cracks.
🌬️ Wind and debris can weaken the sealant, making it vulnerable to leaks.
✔ Checking and resealing prevents small cracks from turning into major leaks.
3. Insurance Won’t Cover Neglect
🚫 Many RV insurance policies won’t cover water damage caused by poor maintenance.
🚫 A leaking roof can lead to a denied claim, meaning you pay out of pocket for repairs.
✔ Routine inspections protect your investment and keep your warranty valid.
🛠 How to Check Your RV Roof Seals (Step-by-Step Guide)
🔍 What You’ll Need:
✔ Safety ladder
✔ Sealant (Dicor or self-leveling RV sealant)
✔ Caulking gun
✔ Cleaning supplies (mild soap & water)
✔ Flashlight (for close-up inspections)
✅ Step 1: Safely Access the Roof
- Use a sturdy ladder or access your RV’s built-in ladder.
- Walk carefully—some RV roofs aren’t designed for foot traffic.
🌟 Pro Tip: If your RV roof isn’t walkable, use a stable board to distribute weight while working.
✅ Step 2: Inspect All Roof Seals
Check these areas closely for cracks, gaps, or peeling sealant:
✔ Roof vents
✔ Air conditioners
✔ Skylights
✔ TV & antenna mounts
✔ Seams along the edges of the roof
🌟 Pro Tip: Run your hand gently over the sealant—if it feels brittle, it needs attention.
✅ Step 3: Clean the Area
Before applying new sealant:
- Wipe away dirt & debris with mild soap and water.
- Dry the area completely before resealing.
🌟 Pro Tip: A clean surface helps the new sealant adhere properly.
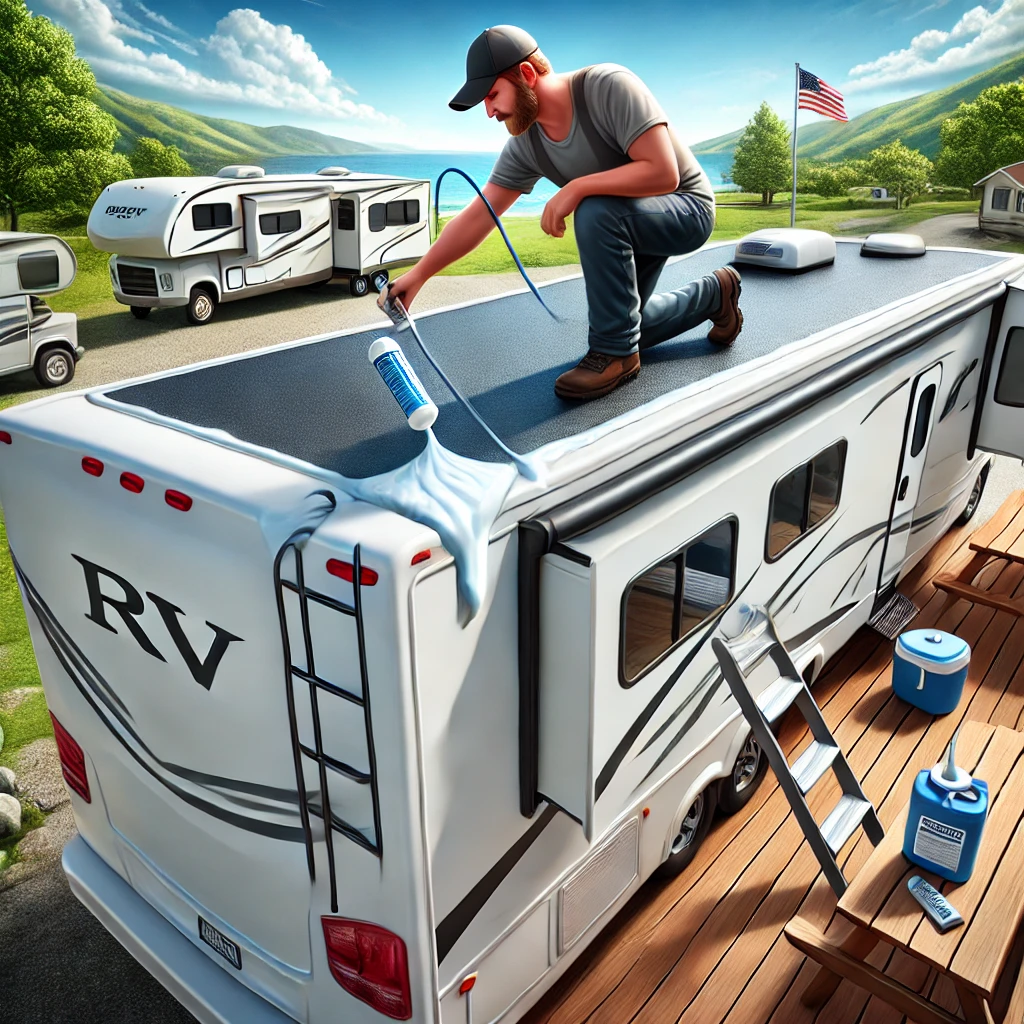
✅ Step 4: Reseal Any Cracked or Worn Areas
- Apply a self-leveling sealant (like Dicor) over problem areas.
- Smooth it out for a watertight seal.
- Let it cure for at least 24 hours before exposing it to rain.
🌟 Pro Tip: Don’t remove old sealant unless it’s peeling or damaged—just apply a new layer over it.
🚨 Signs Your Roof Seals Need Immediate Attention
If you notice any of these, don’t wait—repair your seals ASAP!
🚨 Soft or sagging roof sections – Possible hidden water damage.
🚨 Visible cracks or peeling sealant – Indicates wear and leaks.
🚨 Stains inside your RV ceiling – A sign of water intrusion.
🚨 Musty smell or mold spots – Indicates a moisture issue.
⏳ How Often Should You Reseal Your RV Roof?
✔ Inspect roof seals every 3-6 months
✔ Reseal trouble spots at least once a year
✔ Fully reseal the roof every 3-5 years (depending on climate & usage)
🌟 Pro Tip: If you store your RV outside, consider using a roof cover to extend the life of your seals.
Final Thoughts: A 10-Minute Inspection Can Save You Thousands
Regular roof seal checks prevent water damage, protect your RV’s resale value, and save you from expensive repairs.
✔ Inspect at least once a year
✔ Reseal problem areas as needed
✔ Don’t wait for a leak—be proactive
🚐 Have you ever had to repair a roof leak? Share your experience in the comments!