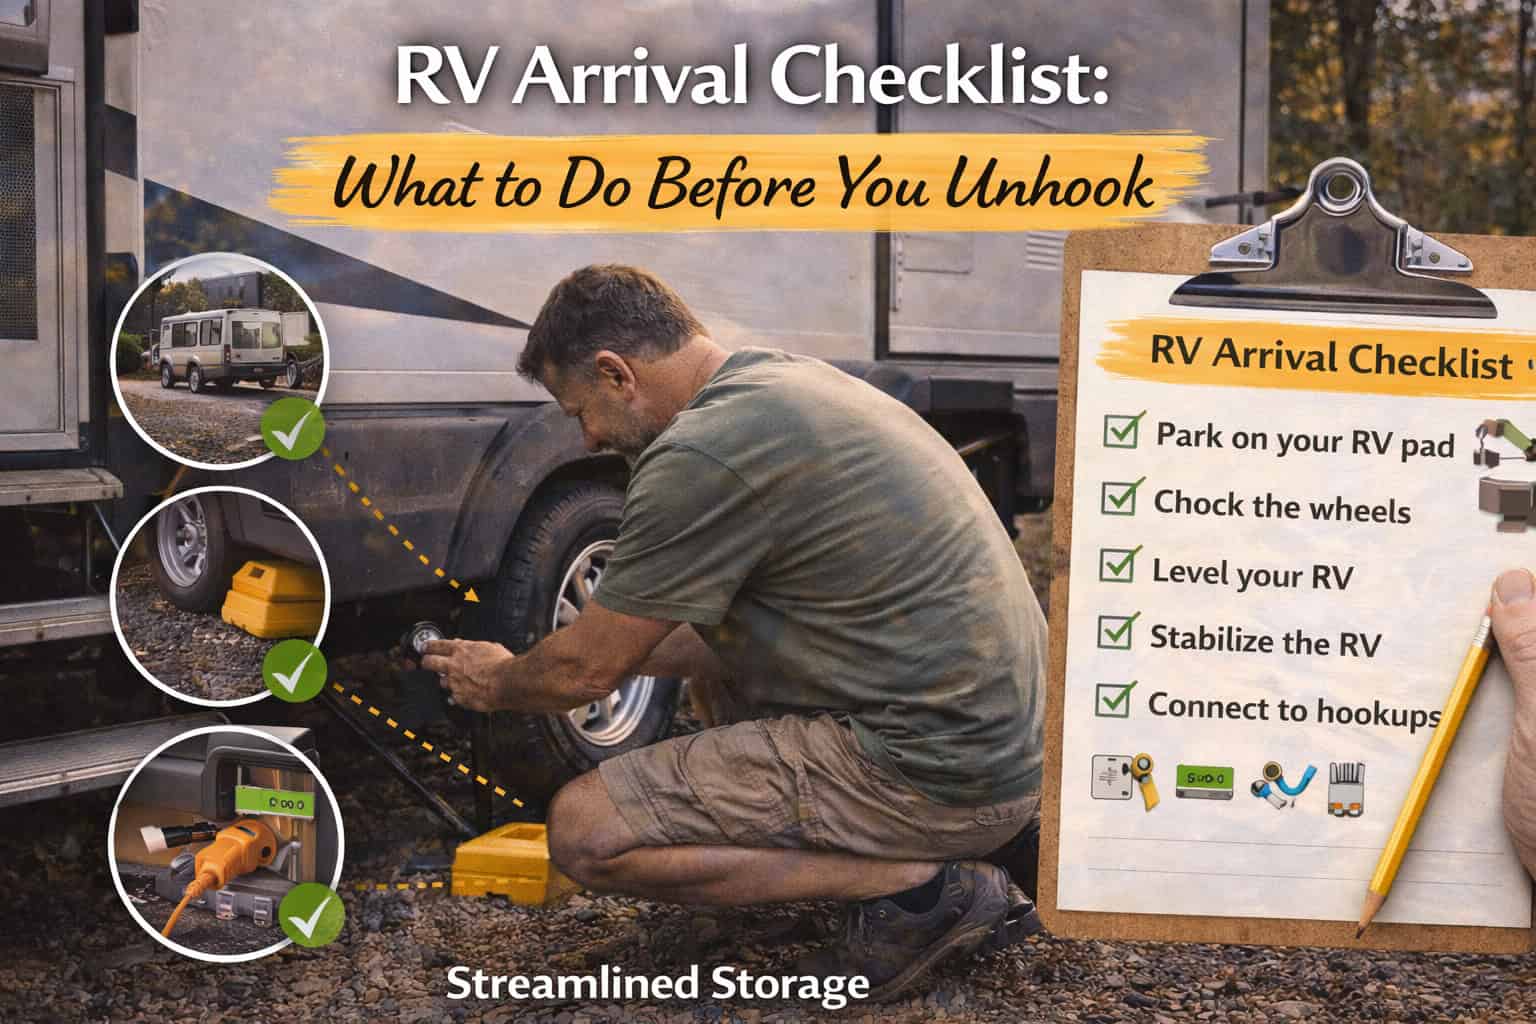
The "Look Before You Unhook" Checklist
The Final Steps to a Perfect Landing
You’ve finally pulled into your campsite! You’re probably ready to jump out and head to the lake, but the first 10 minutes are the most important. If you unhook your truck or SUV too early, you might realize the RV is crooked or too far from the plugs, and then you have to do all that work all over again.
Follow this checklist to make sure your "landing" is perfect before you let go of the hitch!
1. The "Swing Room" Check
Before you even turn off the engine, make sure the RV is exactly where it needs to be.
-
The Slides: Walk around the RV and imagine the walls moving out. Is there a tree, a fence, or a power pole in the way?
-
The Awning: Check the passenger side. Is there enough room to open your big shade umbrella without hitting a branch?
-
The Goal: Make sure you have a "clear zone" on all sides so the RV can fully "grow" once you're parked.
2. The "Reach" Test
RVs have "umbilical cords" (hoses and wires) that connect to the campground.
-
Power & Water: Look at your cords and hoses. Are they long enough to reach the metal power box and the water spigot?
-
Sewer: Check the distance to the drain in the ground. If it’s too far away, you’ll need to pull the RV back a few feet now while it’s still hooked up.
-
The Goal: Ensure your "life support" lines can reach their destinations without being stretched tight.
3. The Side-to-Side Level
This is the big one! Once you unhook, you can move the RV up and down, but you cannot move it left-to-right.
-
The Bubble: Use a level on the floor or the trailer tongue. If the bubble is off to the left, that side needs to come up.
-
The Blocks: If the ground is tilted, your parents will need to drive the tires onto leveling blocks.
-
The Goal: Get the floor perfectly flat from side-to-side while the truck is still attached and can pull the RV onto the blocks.
4. The "Chock" Block
This is the most important safety step in the whole trip.
-
The Action: Place your wheel chocks (those wedge-shaped blocks) tightly against the tires on both the front and the back.
-
Why it matters: This stops the RV from rolling away the moment you lift it off the truck’s hitch.
-
The Goal: Make sure the RV is "locked" to the ground so it stays exactly where you put it.
5. The "Disconnect" Final Check
Now—and only now—are you ready to unhook!
-
Safety Chains: Unclip the chains and the emergency break-away cable.
-
The Plug: Unplug the 7-way wire that connects the RV's lights to the truck.
-
The Jack: Crank the front jack down until the hitch lifts off the truck's ball.
-
The Goal: A clean, safe separation so the truck can drive away and the vacation can begin!
Pro Tip: The "Driver-Spotter" Language. Use hand signals instead of shouting. If you hold your hands up like you're holding a giant beach ball and slowly bring them together, it tells the driver exactly how many inches they have left before they need to stop!
Final Thoughts
By checking your slides, your hoses, and your level before you unhook, you save yourself a lot of "re-doing" later. It only takes a few minutes, and it ensures your RV stays stable and comfortable for the rest of the week.
Great job on the landing!
Want to see exactly where the hookups are located at your site so you can park perfectly on the first try? CampgroundViews.com is the secret weapon for pros. Our 360-degree virtual tours let you see the spigots, the poles, and the trees from the driver's seat before you even pull into the park.
Plan your landing at CampgroundViews.com!