Is Your RV Water Really Safe to Drink?
When you're RVing, you never really know where your water is coming from. Campground hookups, well water, and even city sources can contain contaminants that affect taste, safety, and your RV's plumbing.
The good news? You can easily test your RV’s water quality and take steps to filter out harmful substances before they cause issues. Here’s everything you need to know about checking and improving your RV’s water supply! 🚐💧✨
🔬 1. Why You Should Test Your RV’s Water
Just because the water looks clean doesn’t mean it’s safe to drink. Even RV parks and campgrounds that claim to have “safe” water might have:
❌ Bacteria & Viruses – Can cause stomach illnesses (E. coli, coliform bacteria, etc.).
❌ Heavy Metals – Lead, arsenic, and other metals from old pipes.
❌ Chlorine & Chemicals – Added to municipal water but can be too strong.
❌ Sediment & Rust – Can clog your RV’s plumbing and water heater.
❌ Sulfur & Hard Water – Causes bad smells, dry skin, and appliance damage.
🌟 Pro Tip: Testing before you drink can help you decide if you need a filter, treatment, or bottled water.
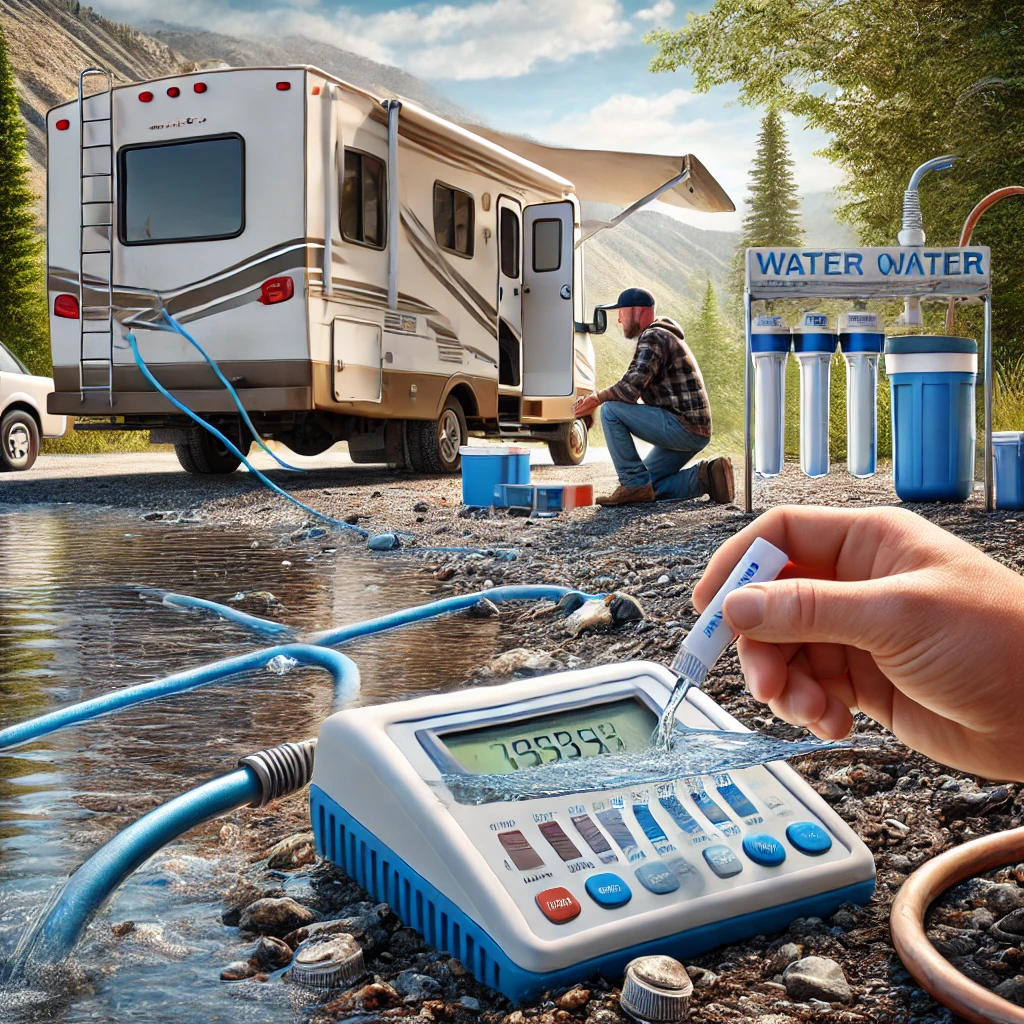
🧪 2. How to Test Your RV’s Water Quality
There are three main ways to check your water:
✅ 1. Use an At-Home Water Test Kit (Easy & Affordable)
- Buy an RV-friendly water test kit online or at a hardware store.
- Dip test strips into your RV’s water and compare colors to the chart.
- Some kits test for bacteria, lead, chlorine, pH, nitrates, and more.
Best for: Checking basic safety, chemicals, and hardness in your RV water.
🌟 Pro Tip: If you test water from multiple campgrounds, keep a log to track trends over time.
✅ 2. Digital Water Quality Meters (For Hardness & pH)
- Measures Total Dissolved Solids (TDS) and water hardness.
- Shows if your water is too hard, acidic, or mineral-heavy.
- Helps you decide if you need a softener or extra filtration.
Best for: Checking hard water problems that could damage your RV’s plumbing.
🌟 Pro Tip: If TDS levels are too high, your filters might need replacing!
✅ 3. Lab Testing for Advanced Results
- Order a professional water test for detailed analysis.
- Usually tests for bacteria, metals, pesticides, and toxins.
- Results take a few days but are more accurate than DIY kits.
Best for: Checking for serious contaminants before long-term drinking.
🌟 Pro Tip: If you use a private well at a campsite, always lab test before drinking!
🚱 3. What to Do If Your Water Has Contaminants
Problem: Bacteria (E. coli, Coliform, or Algae Growth)
❌ Can cause stomach illness & unsafe drinking conditions.
✔ Solution: Use a UV water purifier or add a few drops of bleach per gallon.
🌟 Pro Tip: If bacteria is present, sanitize your RV’s water system immediately (see below)!
Problem: Chlorine or Chemical Taste
❌ Strong chlorine can cause bad taste & smell.
✔ Solution: Use a carbon-based water filter to remove chlorine & odors.
🌟 Pro Tip: A charcoal filter improves taste and removes chemical residue.
Problem: Hard Water (High Minerals, Scale Buildup)
❌ Leaves white stains, damages appliances, dries out skin.
✔ Solution: Use a water softener or install a salt-free conditioner.
🌟 Pro Tip: If water hardness is over 150 ppm, your heater and pipes may get mineral buildup.
Problem: Rust, Sediment, or Discoloration
❌ Can clog pipes & turn water brown.
✔ Solution: Use sediment pre-filters before the water enters your RV.
🌟 Pro Tip: If rust is coming from your RV’s pipes, flush your system with vinegar & water.
Problem: Bad Smell (Sulfur, Rotten Egg Odor)
❌ Often caused by bacteria or decayed organic material.
✔ Solution: Flush your system with hydrogen peroxide or vinegar.
🌟 Pro Tip: If the smell is from well water, a UV light sterilizer can help.
🛠️ 4. How to Sanitize Your RV’s Water System (Step-by-Step)
If your water tests positive for bacteria or smells bad, it’s time to sanitize your RV water tank:
✅ Step 1: Prepare the Bleach Solution
- Mix 1/4 cup of bleach per 15 gallons of fresh water.
- Pour it into the freshwater tank and fill it completely with water.
✅ Step 2: Run It Through the System
- Turn on all faucets, shower, and toilet until you smell bleach.
- Let it sit for 4-12 hours (overnight is best).
✅ Step 3: Flush the System
- Drain the fresh tank completely and refill with clean water.
- Run faucets again until bleach smell disappears.
- Repeat if necessary.
🌟 Pro Tip: Do this every 6 months or whenever you get a bad water source.
🚿 5. Best Water Filters for RVs (Which One Do You Need?)
Filtering water before it enters your RV keeps contaminants out of your plumbing, appliances, and drinking water. Here are the best options:
🚰 Inline Water Filters (Basic Filtration)
✔ Attaches to your RV’s water hose.
✔ Removes sediment, chlorine, and some chemicals.
✔ Cheap and easy to replace.
❌ Doesn’t remove bacteria or heavy metals.
Best for: Basic filtration at campgrounds with city water.
🏕️ Multi-Stage Canister Filters (Better Protection)
✔ Filters out sediment, chlorine, metals, and some bacteria.
✔ Improves taste & smell.
✔ Longer lifespan than inline filters.
❌ Requires installation & space.
Best for: Full-time RVers who want cleaner, safer water.
🔬 Reverse Osmosis (Best Drinking Water)
✔ Removes 99% of contaminants.
✔ Provides bottled water quality straight from the tap.
❌ Uses more water & needs proper drainage.
Best for: Those who want the cleanest possible drinking water.
🚀 Final Thoughts: Safe, Clean Water = Better RVing!
Whether you’re boondocking in the mountains or hooked up at a campground, knowing how to test and treat your RV’s water is essential.
💦 Quick Recap: Keeping Your RV Water Safe
✔ Test your water regularly—use strips, meters, or lab tests.
✔ Watch for warning signs—bad taste, smell, or sediment.
✔ Filter & treat as needed—use carbon filters, softeners, or UV purifiers.
✔ Sanitize your system—flush it with bleach every 6 months.
🚐 What’s your best water safety tip? Share your experience in the comments!