(Because waking up to a stuck rig or soggy shoes is no way to start your day.)
You pull into your campsite after a long day on the road. The sun is setting, and all you want to do is park your RV, kick back, and enjoy the evening.
But wait—not every spot is a good spot.
That seemingly perfect site? It might be hiding some sneaky problems that turn your dream campsite into a nightmare.
From mud traps to unstable ground, bad spots can cause everything from stuck tires to cracked foundations. And no one wants to deal with that on vacation.
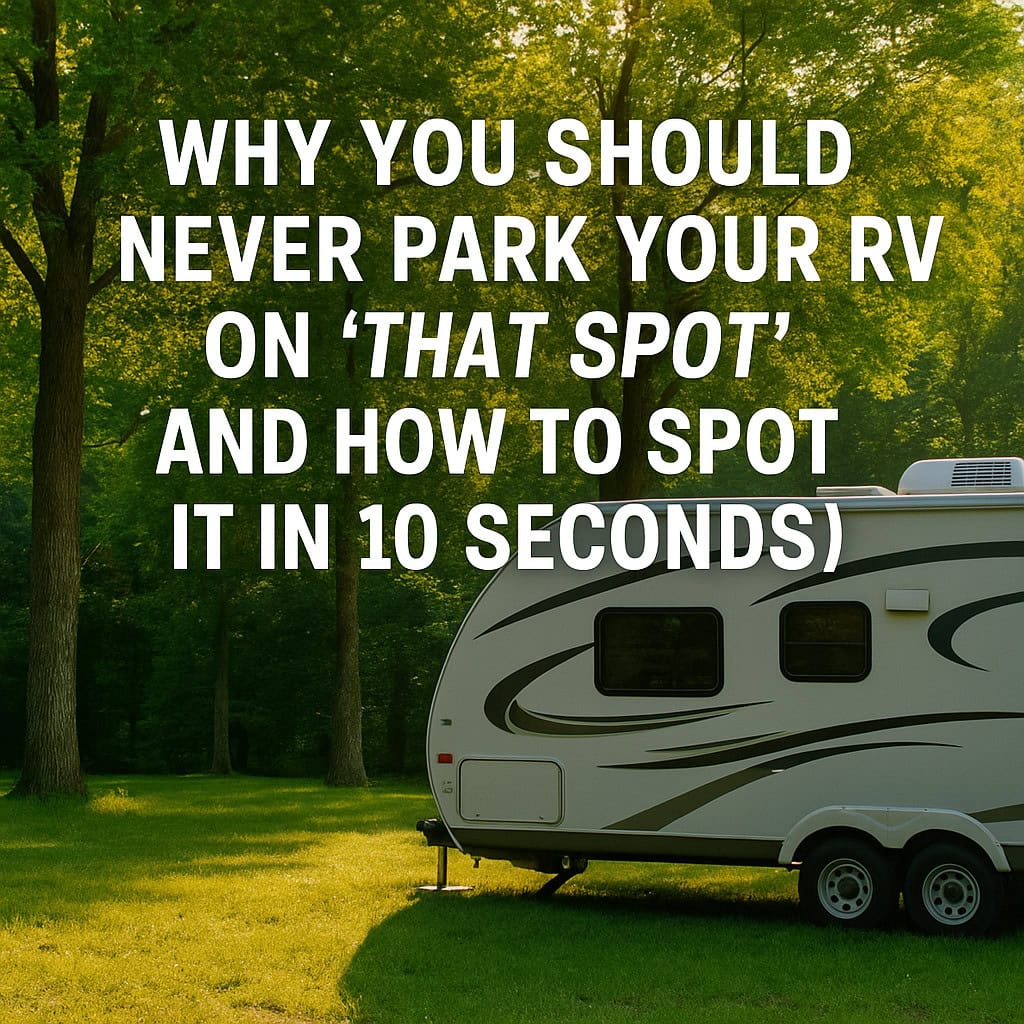
Here’s why you should never park on “that spot”—plus the quick way to spot it in just 10 seconds.
🚨 What’s “That Spot,” Anyway?
It’s the patch of ground you glance at and think, “Eh, looks fine.”
But beneath the surface, “that spot” might be:
-
Soft, muddy ground that swallows your tires
-
A dip or low spot that collects water
-
Uneven or sloped terrain that throws off your RV’s balance
-
A place with hidden rocks or roots that can damage your undercarriage
-
Close to trees with shallow roots or dropping sap and needles
Parking on these spots leads to:
-
Getting stuck in mud or soft dirt
-
An unlevel rig that makes sleeping and cooking frustrating
-
Damage to your RV’s suspension or tires
-
A flooded campsite after a rainstorm
The good news? You can avoid “that spot” with just a quick check.
🕵️♂️ The 10-Second Spot-Check Routine
Before you settle in, spend just a few moments doing this simple scan:
1. Look for Water Signs
-
Are there puddles or wet patches nearby?
-
Does the ground look dark, soggy, or shiny?
-
Check if your spot is in a natural low area where water collects.
If yes, don’t park there. You’ll turn into the camp’s mud magnet.
2. Test the Firmness (With Your Foot or a Stick)
-
Press down on the soil with your foot or a stick.
-
Does it feel spongy or soft?
-
Does the stick sink easily or does your foot leave a deep mark?
If it’s soft or mushy, it’s a no-go. Your RV needs firm ground.
3. Check the Slope
-
Look at the site from a few angles.
-
Is it noticeably tilted? Even a small slope can make a difference.
-
If you have a level app on your phone, use it for a quick check.
Parking on a steep slope can strain your leveling jacks and cause discomfort inside.
4. Scan for Hidden Hazards
-
Look for rocks, roots, or sticks poking out of the ground.
-
Check overhead for low branches or sap-dropping trees.
-
Avoid spots under trees with loose needles or heavy sap—both can damage your roof and clog gutters.
5. Ask Around or Check Online
-
Other campers usually know the good and bad spots—ask the ranger or neighbors.
-
Use campground maps or apps to see site reviews and photos before you arrive.
🛑 Why Parking on “That Spot” Can Ruin Your Trip
Getting Stuck
Soft soil after rain is a trap. Your tires sink in, your RV sinks lower, and the harder you try, the deeper you go.
Towing companies can be expensive and slow. Sometimes you have to wait hours or days to get pulled out. Not fun.
Unlevel Living
Sleeping, cooking, and relaxing are tough when your RV leans like the Tower of Pisa.
Even with leveling blocks, too much slope stresses your stabilizers and can cause long-term damage.
Damage to Your RV
Rocks or roots can damage tires, puncture the undercarriage, or scratch the exterior.
Saps and needles clog vents and stain your roof, causing costly repairs.
Flooded Campsites
Low spots fill with water fast. You could wake up to a mini pond around your RV—and soggy steps.
🔧 Quick Fixes When You Accidentally Park in “That Spot”
If you realize too late and you’re stuck or unlevel:
-
Use wooden planks, boards, or leveling blocks under your tires or jacks to gain traction and stability.
-
If muddy, sprinkle gravel, sand, or cat litter around tires for grip.
-
Use a shovel to clear mud or debris from around tires.
-
Call for help if you’re really stuck—don’t risk damaging your RV trying to force it out.
🧠 Prevent “That Spot” Problems Before You Arrive
-
Check the campground map online ahead of time and pick higher, flat sites.
-
Ask the ranger for recommended sites when you check in.
-
Avoid spots near water or obvious low areas.
-
If you arrive during wet weather, wait to park until the ground dries, or choose paved spots if available.
💬 Final Thoughts
Your campsite sets the tone for the whole trip.
Spend 10 seconds scouting your spot before you park, and you could save yourself hours of stress, damage, and frustration.
No one wants to be the camper stuck in the mud, uncomfortably tilted all weekend, or waking up to a flooded site.
Park smart, stay dry, and enjoy your RV adventures.
✅ Quick Recap: How to Spot “That Spot” in 10 Seconds
-
Look for water and mud signs
-
Test soil firmness with foot or stick
-
Check for slope and tilt
-
Scan for hidden hazards
-
Ask locals or check online reviews
🔗 Follow us for more no-nonsense RV tips, campsite scouting hacks, and real-world advice to keep your travels smooth and stress-free.
We make camping easy—so you can focus on the fun stuff.