
Your RV roof does a big job—it keeps rain, sun, snow, and even falling leaves out of your cozy space. But just like your home, it needs a little attention each season to stay strong and leak-free.
Ignoring your RV roof can lead to water damage, mold, and expensive repairs. Don’t worry! With this easy seasonal checklist, you’ll know exactly what to do to keep your roof in great shape.
Why Seasonal Roof Checks Matter
The weather changes a lot during the year. Hot sun, cold snow, heavy rain, and falling leaves all hit your roof. Cracks, holes, and soft spots can happen over time. If you catch problems early, they’re easy to fix!
Do a full roof check at least four times a year:
-
Spring – After winter
-
Summer – Before and after big trips
-
Fall – After leaf season
-
Winter – If your RV is stored outside
What You’ll Need
Before climbing up (carefully!), grab a few things:
-
Soft shoes (to avoid damaging the roof)
-
A flashlight
-
A sponge or soft brush
-
Mild soap and water
-
A towel
-
Roof-safe sealant (optional, for small repairs)
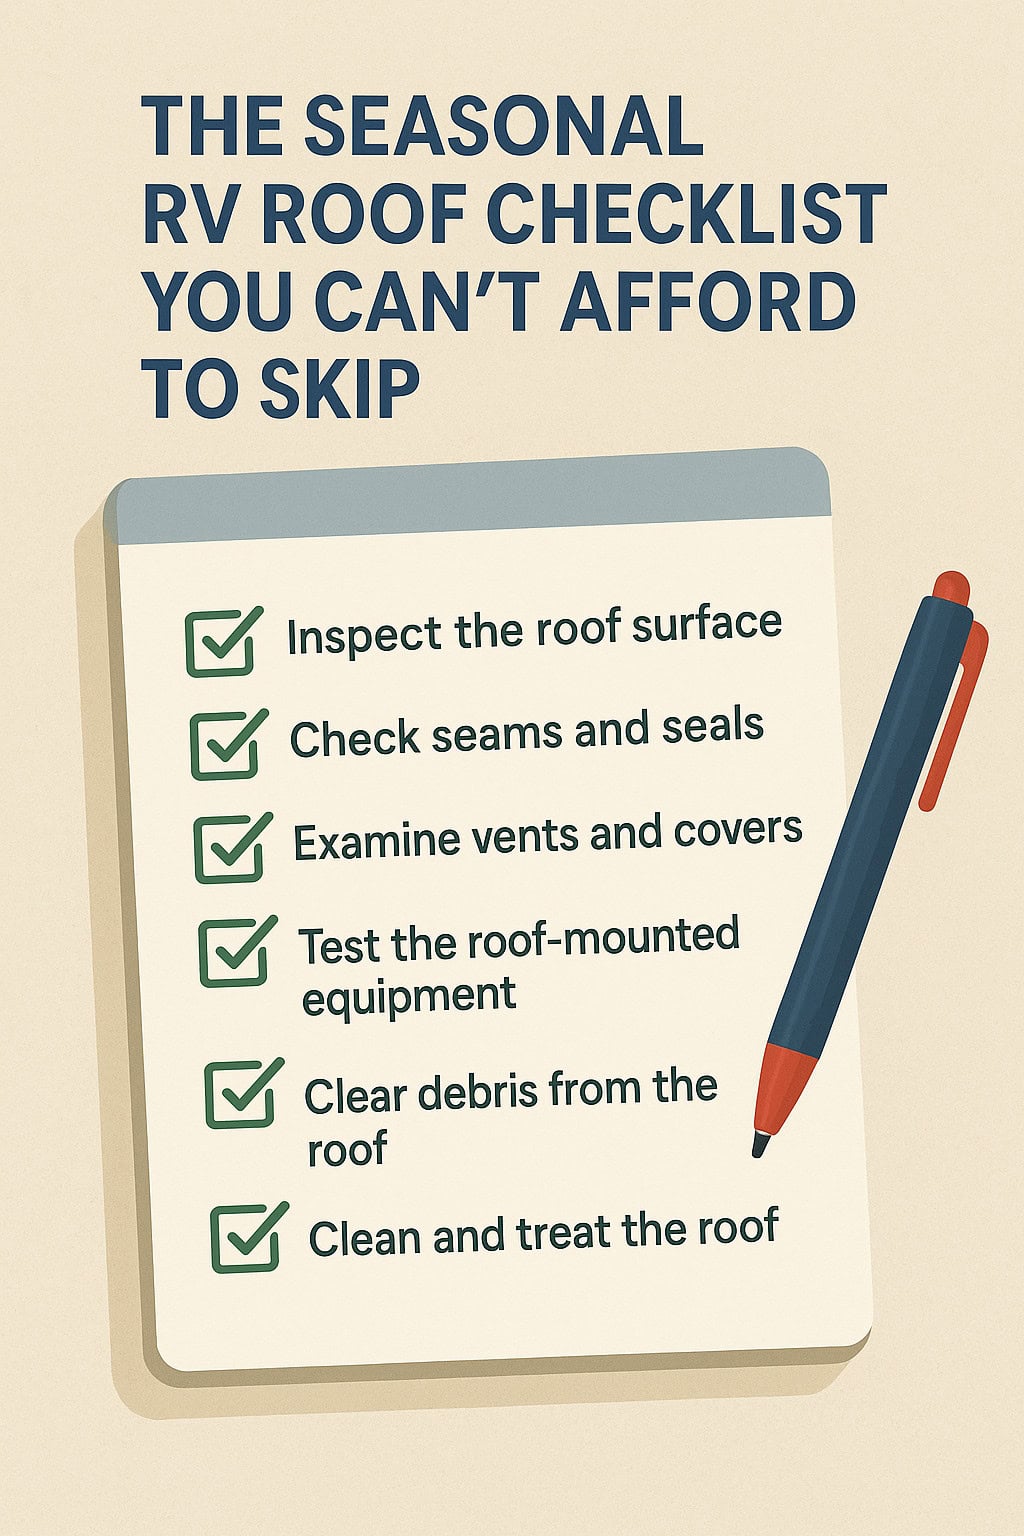
✅ The Seasonal RV Roof Checklist
1. Inspect the Roof Surface
Look at the whole top of your RV:
-
Any cracks, holes, or tears?
-
Is there any bubbling or peeling?
-
Are there soft spots when you step?
If you see damage, make a note or take a picture.
2. Check the Seals and Caulking
Look around all edges and parts sticking up:
-
Roof vents
-
A/C unit
-
Skylights
-
Antennas or solar panels
-
Ladder mounts
Check for cracked, peeling, or missing sealant. Water sneaks in through bad seals!
3. Clear Off Debris
Leaves, sticks, pine needles, and dirt don’t belong on your roof. Use a broom or soft brush to sweep it off.
Why? Leaves trap water. Water causes mold and rot.
4. Clean the Roof
Mix water and mild soap. Use a sponge or soft brush to clean the roof gently. Rinse it well so no soap is left behind.
Tip: Don’t use strong cleaners—they can damage the roof material.
5. Look Inside for Signs of Leaks
Check the ceiling inside your RV:
-
Any stains?
-
Do you see bubbles or soft spots?
-
Is the wallpaper peeling?
Leaks can start small and be hard to notice. Finding them early helps stop big damage later.
6. Inspect Roof Attachments
Are all vents, covers, and antennas screwed down tight? Nothing should wiggle or move. If something is loose, it could let water in—or fly off while driving!
7. Seal Small Cracks Right Away
If you find a tiny crack or gap, fix it now. Use RV roof sealant that matches your roof type. Read the instructions and let it dry fully.
Don't wait—small leaks can turn into big problems.
8. Check Roof Condition After Storms
Big wind or hail? Check the roof afterward. Branches might have hit it, or strong wind may have pulled seals loose.
9. Inspect the Ladder (if you have one)
Make sure your ladder is safely attached. Test it before climbing. A wobbly ladder can be dangerous!
10. Protect Your Roof in Storage
When your RV is parked for winter or a long time:
-
Use an RV cover if stored outdoors
-
Avoid parking under trees
-
Check it once a month for damage or standing water
Bonus Tip: Know Your Roof Type
Not all RV roofs are the same. Yours might be:
-
Rubber (EPDM or TPO)
-
Fiberglass
-
Aluminum
Check your owner’s manual to know what kind of roof you have. Use cleaners and sealants made for your specific type.
Final Thoughts
Your RV roof may not be something you see every day, but it works hard to protect you. A few checks each season help keep it strong and stop leaks before they start.
So grab your checklist, pick a sunny day, and give your RV roof the care it deserves. It’s a small job that saves you big time (and big money) later.