RV slide-outs are amazing—until they stop working smoothly. Creaks, jams, leaks, and stuck slides can take your trip from dream to disaster real fast.
The good news? Most slide-out issues can be prevented with just a little annual maintenance.
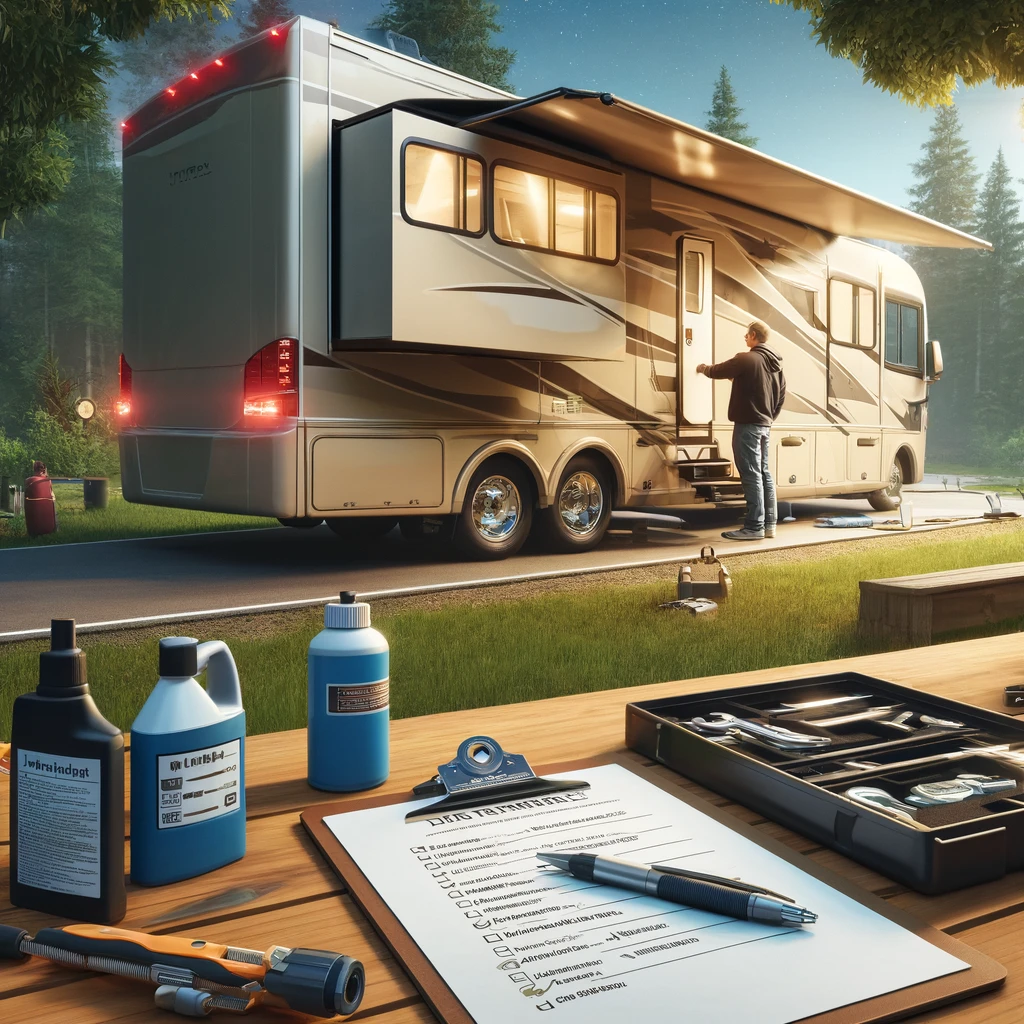
Whether you're a full-timer or a weekend explorer, this simple once-a-year checklist will keep your slide-outs rolling smoothly and quietly—and save you thousands in repairs down the road.
🧰 Why Slide-Out Maintenance Matters
Slide-outs are exposed to the elements, road debris, and constant movement. They’re part mechanical, part electrical, and part structural—and all of those parts need care.
If neglected, you might face:
-
Water damage from bad seals
-
Broken gears or motors
-
Frame warping or uneven slides
-
Expensive repairs that could’ve been avoided
Let’s avoid all that.
✅ The Annual RV Slide-Out Checklist
1. Clean the Seals
Use a mild soap and water to remove dust, grime, and buildup from the rubber seals.
✔️ Why: Dirt wears them down and can cause water leaks.
2. Condition the Seals
Apply a seal conditioner (once dry) to keep the rubber flexible and crack-resistant.
✔️ Why: Dry, brittle seals = leaks and drafts.
3. Inspect the Slide Mechanism
Look for:
-
Rust or corrosion
-
Loose bolts or screws
-
Signs of wear on rails or arms
✔️ Why: Catch small issues before they become breakdowns.
4. Lubricate Moving Parts
Use a dry slide-out lubricant (not WD-40!) on:
-
Tracks
-
Gears
-
Pins and hinges
✔️ Why: Reduces friction and noise, extends lifespan.
5. Check the Slide Alignment
When extended, your slide-out should be level and even with the RV. If it looks crooked or tilted, have it inspected.
✔️ Why: Misalignment leads to wear, damage, and stuck slides.
6. Test the Motor & Switches
Run the slide in and out slowly. Listen for:
-
Grinding
-
Jerking
-
Hesitations
✔️ Why: Early motor issues are easier (and cheaper) to fix.
7. Examine the Roof & Topper
If your slide has a topper, check for:
-
Tears or holes
-
Debris build-up
-
Mold or mildew
✔️ Why: A healthy topper keeps rain and gunk off the roof.
8. Look for Water Stains Inside
Open cabinets or corners near the slide and check for:
-
Dampness
-
Stains
-
Musty smell
✔️ Why: These are red flags for leaks you can’t see from the outside.
9. Clear Out the Track Area
Make sure no rocks, pinecones, or debris are stuck in the slide tracks before closing.
✔️ Why: Even a small object can cause big damage when the slide moves.
10. Add It to Your Calendar
Mark your calendar now to do this each year—ideally before the season starts or before long-term storage.
✔️ Why: Consistency = no surprises mid-trip.
💡 Bonus: What NOT to Do
-
Don’t use silicone spray or grease—many can attract dirt and cause damage.
-
Don’t force a stuck slide. It can cause frame or motor damage.
-
Don’t skip maintenance because it “seems fine.” Prevention is key.
🏕️ Final Thoughts
Your slide-outs work hard. A little annual TLC goes a long way in keeping them smooth, silent, and stress-free.
This checklist takes less than an hour—but it could save you thousands in repair bills, hours of trip delay, and more peace of mind every time you press that slide button.
✨ Add it to your routine—and make it part of your “ready to roll” checklist next season.