Finding the Perfect Spot for the Best Camping Experience
Not all campsites are created equal. Whether you’re pulling into an RV park, boondocking in the wilderness, or setting up at a national park campground, choosing the right campsite can make or break your trip.
A great site means a peaceful, comfortable stay with beautiful views and easy access to amenities. A bad site? Think noisy neighbors, uneven ground, bad drainage, and no shade.
So before you settle in, here’s what to look for when picking the best campsite for your adventure.
🏕️ Step 1: Decide What Type of Camping You’re Doing
Before choosing a campsite, ask yourself:
✔ Are you staying at a developed campground, an RV park, or boondocking?
✔ Do you need hookups or prefer off-grid camping?
✔ How long are you staying?
✔ Are you looking for peace and quiet or social camping?
Knowing your camping style helps narrow down what matters most in a campsite.
🗺 Step 2: Location, Location, Location
When arriving at a campground, consider these key factors before parking:
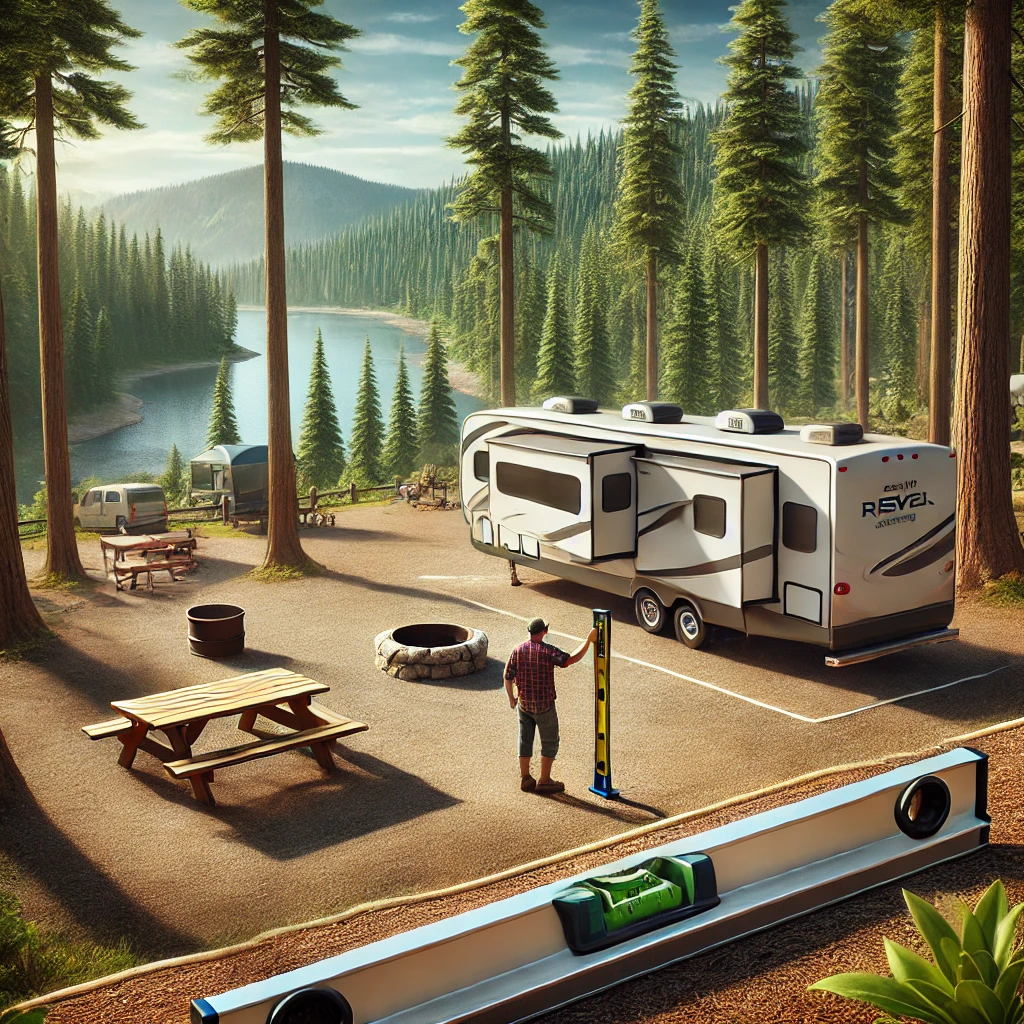
✅ Look for Level Ground
An uneven campsite can cause:
❌ RVs to be unstable and difficult to level
❌ Water to pool under your tent during rain
❌ Uncomfortable sleeping and cooking setups
Best Practice: Always check for flat ground before unhooking or setting up camp. If you're in an RV, use leveling blocks if needed.
✅ Check for Shade & Sun Exposure
☀ Why it matters:
- Shade keeps your RV or tent cool in hot weather.
- Sun exposure is better if you rely on solar panels.
- Some areas get strong winds—trees can offer protection.
Best Practice: Pick a balance—morning sun for warmth, afternoon shade for comfort.
✅ Stay Away from High-Traffic Areas
If you want peace and quiet, avoid sites near the main road, restrooms, dumpsters, or playgrounds.
❌ Common Problem Areas:
- Sites near the campground entrance (constant traffic)
- Spots close to bathrooms (foot traffic + door slams all night)
- Near dumpsters (bad smells and late-night raccoons)
Best Practice: Walk around the campground before choosing a spot to see if the noise level works for you.
✅ Watch Out for Low Spots & Drainage Issues
Avoid setting up in dips or low-lying areas where rainwater can collect.
❌ If it rains, low spots turn into muddy messes.
❌ Water pooling under your RV or tent = disaster.
Best Practice: Look for a slightly elevated site to prevent water issues.
🚐 Step 3: Consider Your Setup & Needs
✅ Do You Need Hookups?
If you’re in an RV, check for:
✔ Full hookups (water, electric, sewer)
✔ 50-amp vs. 30-amp sites—make sure it fits your RV’s power needs
✔ Dump station access if no sewer hookup
Best Practice: If hookups are limited, arrive early to secure a site with what you need.
✅ Can You Fit in the Spot?
Not every site is big-rig friendly. Before parking, check:
✔ Site length & width—Some campgrounds have tight spots
✔ Tree clearance—Low-hanging branches can damage your RV
✔ Slide-out space—Make sure you have room to extend your slide-outs
Best Practice: Check the campground’s website or use Google Maps satellite view to scope out site sizes before booking.
✅ Are There Fire Restrictions?
Not all campsites allow campfires—especially in dry areas prone to wildfires.
✔ Check fire restrictions before assuming you can have a fire.
✔ Bring a propane fire pit if traditional fires aren’t allowed.
✔ If fires are allowed, make sure your site has a fire ring.
🔥 Best Practice: If campfires are a big part of your trip, pick a site where they’re allowed.
✅ Proximity to Water, Trails, & Attractions
Do you want a lakeside view, easy access to hiking trails, or a quiet corner spot?
✔ Sites near water offer great views but can attract bugs & humidity.
✔ Spots near trails give you quick access to adventure but might mean more foot traffic.
✔ Campgrounds near national parks or attractions fill up fast—book early.
Best Practice: Decide what’s most important and pick a site that suits your activities.
🛑 Step 4: Avoid These Red Flags
🚧 Signs you might want to pick another site:
❌ Too close to the main road (traffic noise)
❌ Sloped or uneven ground (hard to set up)
❌ No natural shade (hot and uncomfortable)
❌ Mud puddles or low spots (flooding risk)
❌ Right next to a trash bin (bad smells, raccoons at night)
❌ Signs of recent fire damage (unsafe)
Best Practice: If a site feels wrong, keep looking! You’ll be happier in the long run.
🚀 Bonus: How to Find the Best Campsites Every Time
📍Use These Tools to Pick the Best Spot
✔ CampgroundViews.com – Take a 360-degree virtual tour of campsites before booking!
– Reviews, cell service info, and photos of campsites.
– Best for finding boondocking spots.
💡 Pro Tip: Call the Campground Before You Arrive
If you’re not sure about site sizes, hookups, or the best spots, call ahead and ask! Park rangers and campground staff can recommend the best spots based on your setup.
🚐 Final Thoughts: Choose Wisely & Camp Comfortably
Picking the right campsite is more than just parking your RV or pitching your tent—it’s about setting yourself up for the best possible experience.
✔ Quick Checklist for Picking the Best Campsite:
✅ Level ground—No tilting or rolling out of bed
✅ Shade & sun exposure—Find the right balance
✅ Away from traffic, dumpsters, & bathrooms—Less noise and smells
✅ Check for fire restrictions & amenities—Make sure it fits your needs
✅ Proximity to trails, water, or attractions—Choose what’s best for you
The better the campsite, the better the trip. Take a little extra time to choose wisely, and you’ll have a more comfortable and enjoyable adventure.
🚐 Want to see your campsite before booking? Take a 360-degree virtual tour at CampgroundViews.com and pick the perfect spot before you park!