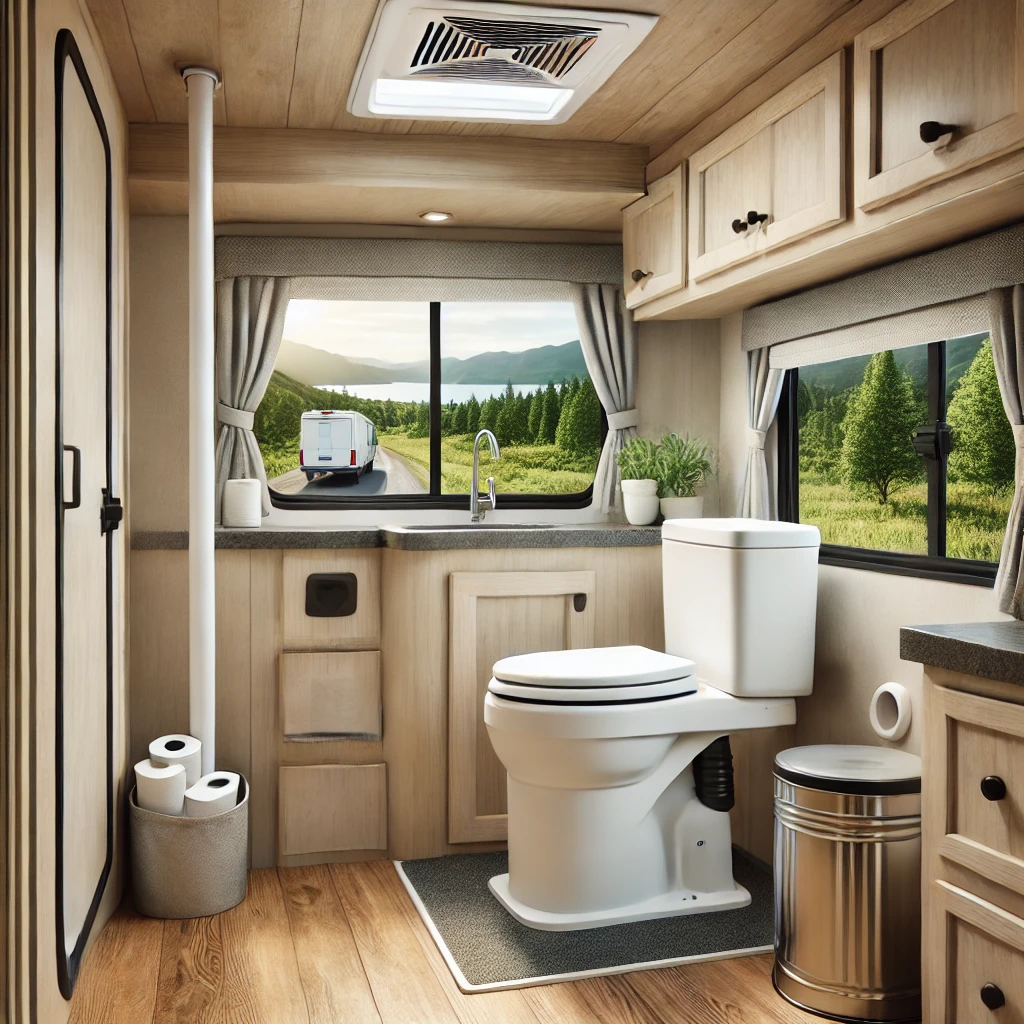
Switching to a
composting toilet in your RV is a game-changer. Not only does it
eliminate black tank waste, but it also reduces water usage and helps the environment. If you’re tired of dealing with traditional RV toilets, a composting system could be
the best upgrade for your rig.
In this step-by-step guide, we’ll walk you through
installing a composting toilet in your RV—including
what tools you need, how to set it up, and how to maintain it for long-term success.
Why Choose a Composting Toilet for Your RV?
Before diving into installation, let’s talk about why
so many RVers are making the switch.
Benefits of a Composting Toilet:
✔
No Black Tank Needed – Say goodbye to messy black tank dumps.
✔
Uses Little to No Water – Ideal for boondocking and dry camping.
✔
Odor-Free (When Used Correctly!) – The composting process keeps smells away.
✔
Eco-Friendly – Reduces water waste and turns waste into compostable material.
✔
More Freedom – No need to rely on dump stations; empty when convenient.
💡
Pro Tip: A composting toilet
separates liquids and solids, which is the key to keeping it odor-free.
Tools & Materials Needed for Installation 🔧
Before you begin, make sure you have everything ready. Here’s what you’ll need:
Tools:
✔
Power Drill – For securing the toilet base.
✔
Jigsaw or Hole Saw – To cut ventilation holes.
✔
Screwdriver & Wrench Set – For securing bolts and screws.
✔
Measuring Tape – To ensure the correct placement of the toilet.
Materials:
✔
Composting Toilet Kit – Most come with a seat, a solid waste container, and a urine diverter.
✔
Ventilation Hose & Fan – Required for airflow and odor control.
✔
Compost Medium (Coconut Coir, Peat Moss, or Sawdust) – Helps break down solid waste.
✔
Hose Clamps & Screws – For securing the vent system.
✔
Flexible Urine Hose (If Redirecting to a Grey Tank) – Optional, but useful for convenience.
Step-by-Step Installation Guide 🚽
Step 1: Remove the Old RV Toilet & Black Tank (Optional)
✔
Turn off the water supply to your RV’s toilet.
✔
Disconnect the water line and remove any bolts securing the old toilet.
✔
Carefully lift out the toilet and seal the black tank opening (if removing the tank permanently).
✔
If keeping your black tank for other uses, cap the toilet opening securely to prevent leaks.
💡
Pro Tip: If removing your black tank, you’ll free up
extra storage space in your RV!
Step 2: Position the Composting Toilet
✔
Measure the space where your composting toilet will go.
✔
Ensure enough room to lift the lid and access the waste container.
✔
Mark the base holes where you’ll secure the toilet to the RV floor.
💡
Pro Tip: Many composting toilets have a
front-opening bin for easy emptying—make sure it’s positioned for easy access.
Step 3: Install the Ventilation System
✔
Locate the best place for your vent hose—this could be through the floor, wall, or side of your RV.
✔
Use a jigsaw or hole saw to cut a vent hole where the hose will exit.
✔
Attach the vent fan to the composting toilet, securing the hose to it with clamps.
✔
Run the vent hose outside through the hole and secure it with brackets.
💡
Pro Tip: Venting through the
floor or side wall is usually easiest, but some RVers vent through the roof for better airflow.
Step 4: Secure the Toilet in Place
✔
Align the toilet with the floor markings.
✔
Drill pilot holes and use screws or bolts to attach the toilet base.
✔
Make sure the unit is stable and doesn’t shift while driving.
💡
Pro Tip: Some composting toilets come with
L-brackets for added security.
Step 5: Add Composting Medium & Test the System
✔
Add your composting material (like coconut coir or peat moss) to the solids bin.
✔
Make sure the agitator handle (if included) turns smoothly.
✔
Test the ventilation fan to ensure it’s running properly.
💡
Pro Tip: DO NOT use cat litter—it doesn’t break down waste properly!
How to Use & Maintain Your RV Composting Toilet
Once installed,
a composting toilet is easy to use, but proper maintenance is key.
Using the Toilet Correctly:
✔
Sit normally—the system
automatically separates liquids and solids.
✔
Turn the agitator after each solid waste use to mix the composting material.
✔
For liquids, empty the urine bottle every
1-2 days to prevent smells.
✔
For solids, empty the compost bin every
2-4 weeks, depending on use.
💡
Pro Tip: Sprinkling
a handful of sawdust or peat moss after each use helps with odor control.
How to Empty the Composting Toilet:
1️⃣
For Liquids:
✔
Remove the urine bottle and dump it at a toilet, sewer drain, or designated site.
✔
Rinse with vinegar and water to keep it clean.
2️⃣
For Solids:
✔
Once the bin is full (about 2-4 weeks), remove the compost container.
✔
Empty it into a composting bin, biodegradable bag, or bury it in an approved area.
✔
Add fresh composting material before reusing.
💡
Pro Tip: If dumping waste while boondocking,
always follow Leave No Trace principles and dispose of it properly.
Common Myths & FAQs About RV Composting Toilets
🚫
“Composting toilets stink!”
✔
False! When used correctly, they have little to no odor. Ventilation is key!
🚫
“They’re too complicated to maintain.”
✔
False! Emptying a composting toilet
is much easier than dealing with a black tank.
🚫
“You can’t use them in cold weather.”
✔
False! Just use
a little extra composting material to absorb moisture.
Final Thoughts: Is a Composting Toilet Worth It?
A
composting toilet is one of the best upgrades for RVers looking to save water, reduce waste, and enjoy more freedom on the road.
✔
No black tank hassles
✔
Eco-friendly & water-saving
✔
Odor-free when properly maintained
✔
Perfect for off-grid & boondocking
💡
Thinking about making the switch? Follow this guide, and you’ll have a
fully functional composting toilet in your RV in no time!