(Yes, it’s possible. Even with one table and zero counter space.)
Camp cooking sounds dreamy: sizzling bacon under the pines, eggs perfectly done, coffee percolating while birds chirp.
Reality?
You're crouched on uneven gravel, the wind just blew your paper towels into the woods, and your bacon's now doing the sizzle-then-scorch tango while you look for the spatula.
Let’s fix that.
Here’s how to set up a camp kitchen that’s functional, fast, and won’t turn your breakfast into a therapy session.
🔲 1. Pick the Right Zone
You need a space that’s:
-
Flat-ish
-
Upwind from your neighbor’s tent (because not everyone loves garlic at 7am)
-
Close enough to water if possible
-
Shaded or sheltered to avoid melting mid-scramble
Bonus points if you’re not cooking directly next to your waste bin or sewer hose hookup. (Yes, people do that. No, it’s not ideal.)
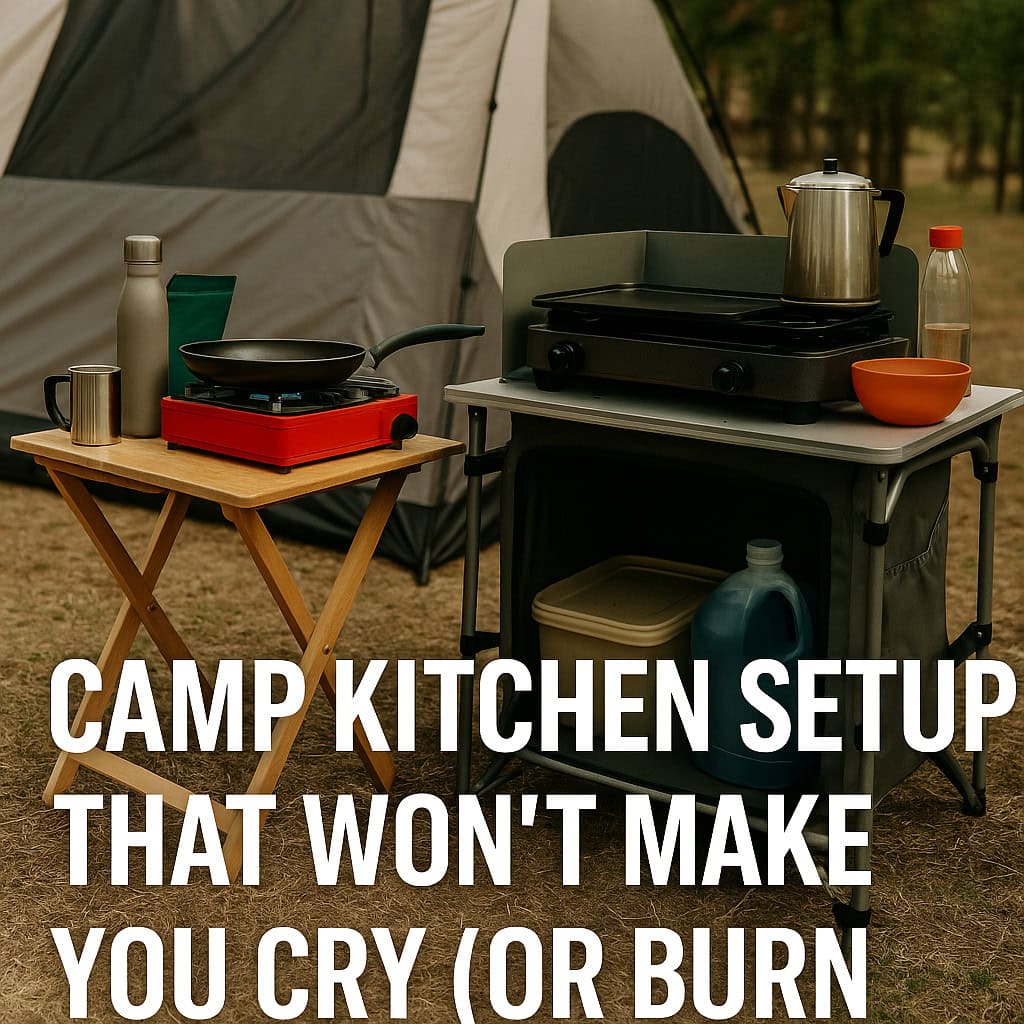
🪑 2. One Table, Two Jobs
You don’t need a gourmet chef’s setup. You need a Prep Side and a Cook Side.
If you only have one table:
-
Left side = clean zone (cutting board, seasonings, coffee)
-
Right side = hot zone (camp stove, skillet, regrets)
Keep raw meat and clean dishes separate—unless you’re craving salmonella au jus.
🧠 Bonus tip: A pop-up side table or even a sturdy step stool makes a great “overflow counter” for gear, utensils, or your coffee mug collection.
🔥 3. Wind Shields Save Breakfast
The #1 reason bacon burns or pancakes flip themselves into oblivion? Wind.
Camp stoves hate wind.
Bring or make a wind shield:
-
Folded foil
-
Metal splash guards
-
That one person who holds a cutting board like a human shield
Your eggs will thank you.
🧰 4. Your MVPs: The Tools You’ll Actually Use
Forget the fancy gadgets. You just need:
-
Tongs (because fingers shouldn’t flip sausages)
-
Spatula (not the one that melts)
-
Sharp knife + small cutting board
-
Collapsible wash tub or dishpan
-
Heat-resistant gloves (because that pot handle will betray you)
And let’s not forget: trash bag + paper towels + surface sanitizer.
Because ants don’t care how good your fajitas were.
🧃 5. Cold Stuff? Don’t Dig for It
Use two coolers if you can:
-
One for food
-
One for drinks
This keeps the food zone colder (and prevents someone from fishing out a root beer and leaving your cheese to die).
Pro tip: Stack ingredients in reverse order of use.
Nothing like rummaging for your breakfast sausage under seven layers of last night’s leftovers.
⏱ 6. The “One-Trip Setup” Method
Keep your kitchen gear together in:
-
A single tote bin
-
A folding crate
-
A “kitchen caddy” with drawers or compartments
If you can grab one thing and be 90% ready to cook? You win.
No more back-and-forth trips to the rig muttering “where’s the spatula” like a stressed-out Gordon Ramsay in Crocs.
💬 Final Thoughts
Camp cooking doesn’t have to be chaotic.
With a little layout planning, the right tools, and a solid wind block, you can make real food… in real peace.
And hey—if all else fails, there’s always s’mores and cereal.
So next time you're about to burn the bacon and your sanity? Breathe, flip, and keep your paper towels anchored.
🐟 Want to Know If Your Site Has a Table, Shade, or Space for Your Camp Kitchen?
Use CampgroundViews to:
-
See your exact campsite setup before you arrive
-
Check for table placement, windbreaks, and room for your one-table masterpiece
-
Plan your kitchen before you unpack your gear
🔗 Your meals deserve more than a balancing act on a cooler lid.
Check out your site with CampgroundViews and cook like the campground chef you were meant to be.