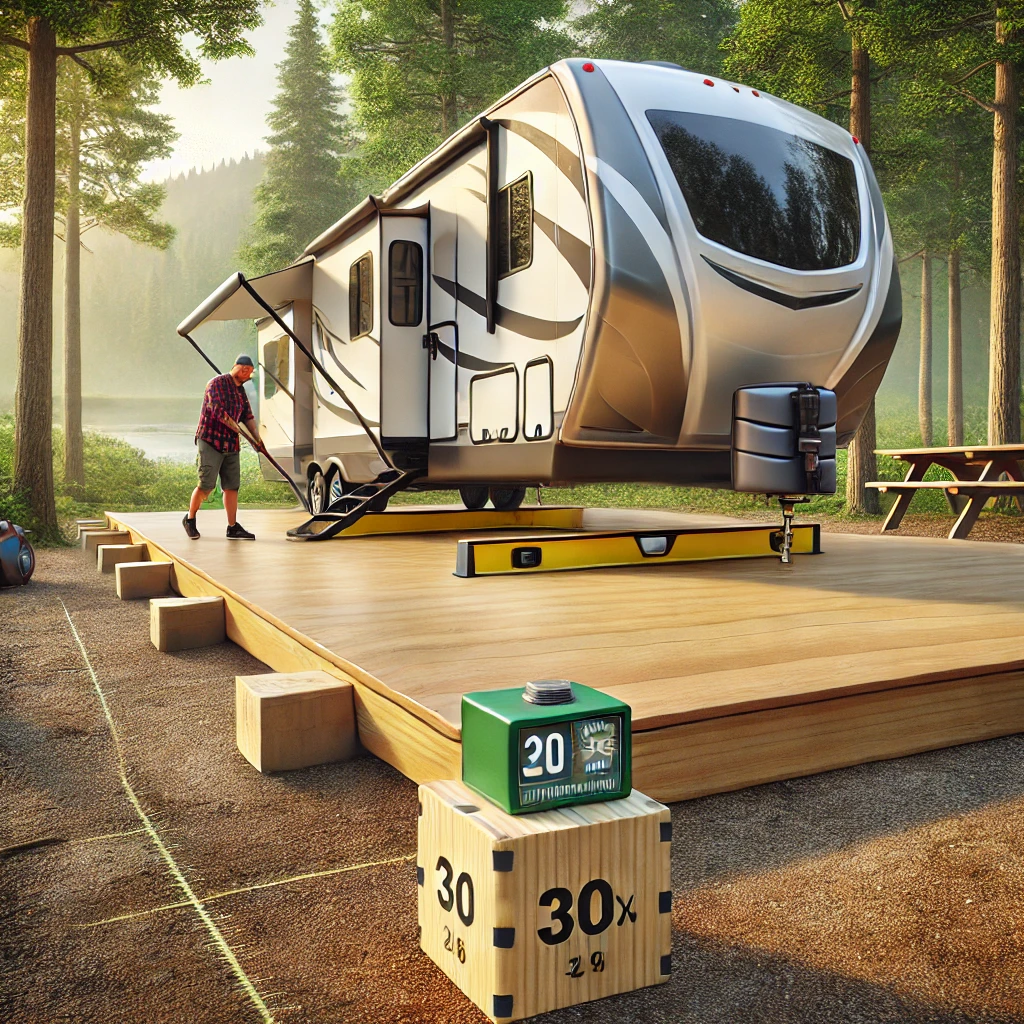
Don’t Let an Unlevel RV Ruin Your Camping Experience
Nothing throws off a great RV trip faster than bad leveling. An uneven RV can lead to slamming cabinet doors, uncomfortable sleep, fridge malfunctions, and even long-term damage to your rig.
Unfortunately, leveling mistakes are easy to make—but also easy to avoid. Here’s a breakdown of the most common RV leveling mistakes and how to fix them before they ruin your trip.
🚫 Mistake #1: Not Checking the Ground Before Parking
Why It’s a Problem:
✔ Parking on soft, uneven, or sloped ground makes leveling nearly impossible.
✔ If it rains, soft ground can sink under your RV’s weight.
✔ Rocks and potholes can create extra stress on your jacks and tires.
How to Avoid It:
✅ Walk the site before pulling in and check for low spots, slopes, or hazards.
✅ If possible, choose level ground with a solid base like gravel or packed dirt.
✅ Carry a small shovel to even out minor dips before parking.
🚫 Mistake #2: Forgetting to Check Level Before Unhitching
Why It’s a Problem:
✔ If you unhook before leveling, you may need to re-hitch and move.
✔ Can cause excess stress on stabilizer jacks.
✔ Makes side-to-side adjustments more difficult.
How to Avoid It:
✅ Use a bubble level or a leveling app before unhitching.
✅ Adjust side-to-side level first by adding blocks under the tires if needed.
✅ Once side-to-side is level, then unhitch and level front-to-back.
🚫 Mistake #3: Relying Only on Stabilizer Jacks for Leveling
Why It’s a Problem:
✔ Stabilizer jacks are designed for support, not lifting or leveling.
✔ Using them for leveling can bend or break them over time.
✔ Puts extra stress on your RV frame.
How to Avoid It:
✅ Use leveling blocks or hydraulic jacks to get level first.
✅ Lower stabilizer jacks only after the RV is level.
✅ Never use stabilizers to lift a wheel off the ground.
🚫 Mistake #4: Not Using a Leveling System or Tools
Why It’s a Problem:
✔ Guessing if your RV is level leads to frustration and mistakes.
✔ An unlevel RV causes discomfort, appliance malfunctions, and door alignment issues.
How to Avoid It:
✅ Use bubble levels or a digital leveling system.
✅ Place levels on the floor inside the RV, not on the counters or dash.
✅ Smartphone apps like LevelMatePRO can help.
🚫 Mistake #5: Not Chocking Your Wheels First
Why It’s a Problem:
✔ Your RV can roll while adjusting jacks or unhitching.
✔ Can lead to serious damage or injury.
✔ Even small slopes can cause movement if not secured.
How to Avoid It:
✅ Always chock your wheels before unhitching.
✅ Use high-quality rubber wheel chocks, not cheap plastic ones.
✅ Double-check that your tow vehicle is in park with the brake engaged before unhitching.
🚫 Mistake #6: Ignoring Your Refrigerator’s Need for Leveling
Why It’s a Problem:
✔ RV fridges must be level to function properly.
✔ Running an unlevel absorption fridge can cause permanent damage.
✔ Can lead to spoiled food and costly repairs.
How to Avoid It:
✅ Make sure your RV is within 3 degrees left to right and 6 degrees front to back.
✅ If boondocking on uneven ground, adjust your RV’s level or use a portable fridge instead.
🚫 Mistake #7: Using the Wrong Leveling Blocks
Why It’s a Problem:
✔ Cheap or unstable blocks can crack under weight.
✔ Stacking blocks unevenly can cause your RV to shift.
✔ Using wood blocks can lead to splitting or rotting over time.
How to Avoid It:
✅ Use durable, interlocking leveling blocks.
✅ Always stack blocks evenly and securely.
✅ Avoid using random rocks or unstable DIY solutions.
🚫 Mistake #8: Forgetting to Recheck Your Level After Setup
Why It’s a Problem:
✔ RVs can settle after a few hours, causing unlevel conditions.
✔ Changes in weight (like water tanks filling or emptying) can shift the balance.
How to Avoid It:
✅ After a few hours, walk through your RV and check for any shifts.
✅ Recheck your level before going to bed or after using water tanks heavily.
✅ If needed, adjust stabilizers or add extra blocks.
🚫 Mistake #9: Leveling on Soft or Wet Ground Without Protection
Why It’s a Problem:
✔ Hydraulic jacks can sink into soft ground, making leveling impossible.
✔ Rain can turn dirt into mud, causing your RV to shift overnight.
How to Avoid It:
✅ Use jack pads or wooden planks under leveling jacks.
✅ If the ground is soft, park on gravel or compact dirt whenever possible.
✅ Avoid low spots that collect water.
🚫 Mistake #10: Rushing the Process
Why It’s a Problem:
✔ Setting up too quickly can lead to missed steps and bad leveling.
✔ Small mistakes can turn into big frustrations later.
How to Avoid It:
✅ Take your time and double-check everything before unhitching.
✅ Follow a consistent setup routine to avoid skipping steps.
✅ If something feels off, redo it before fully setting up camp.
🔧 RV Leveling Done Right: The Perfect Setup
🚀 Follow These Steps for a Hassle-Free Leveling Process:
- Check the campsite for level ground before pulling in.
- Chock your wheels before unhitching.
- Use a level to check side-to-side balance first.
- Adjust leveling blocks or jacks as needed.
- Recheck level before extending slides or stabilizers.
- Lower stabilizers for extra support, not leveling.
- Double-check your level after a few hours.
By avoiding these common mistakes, you’ll have a stable, safe, and comfortable RV setup—without the frustration.
🚐 Want to see what your next campsite looks like before you book? Take a 360-degree virtual tour at CampgroundViews.com to pick the perfect, level-friendly site!