Introduction
Your RV's graphic decals are not only a decorative feature but also a vital part of its overall aesthetic appeal. Over time, exposure to the elements can cause these decals to crack, peel, or fade, leaving your RV looking tired and weathered. But don't worry, with the right knowledge and tools, you can restore the luster of your RV's graphic decals. In this comprehensive guide, we'll walk you through the steps to repair cracked RV graphic decals, bringing back that fresh, eye-catching look.
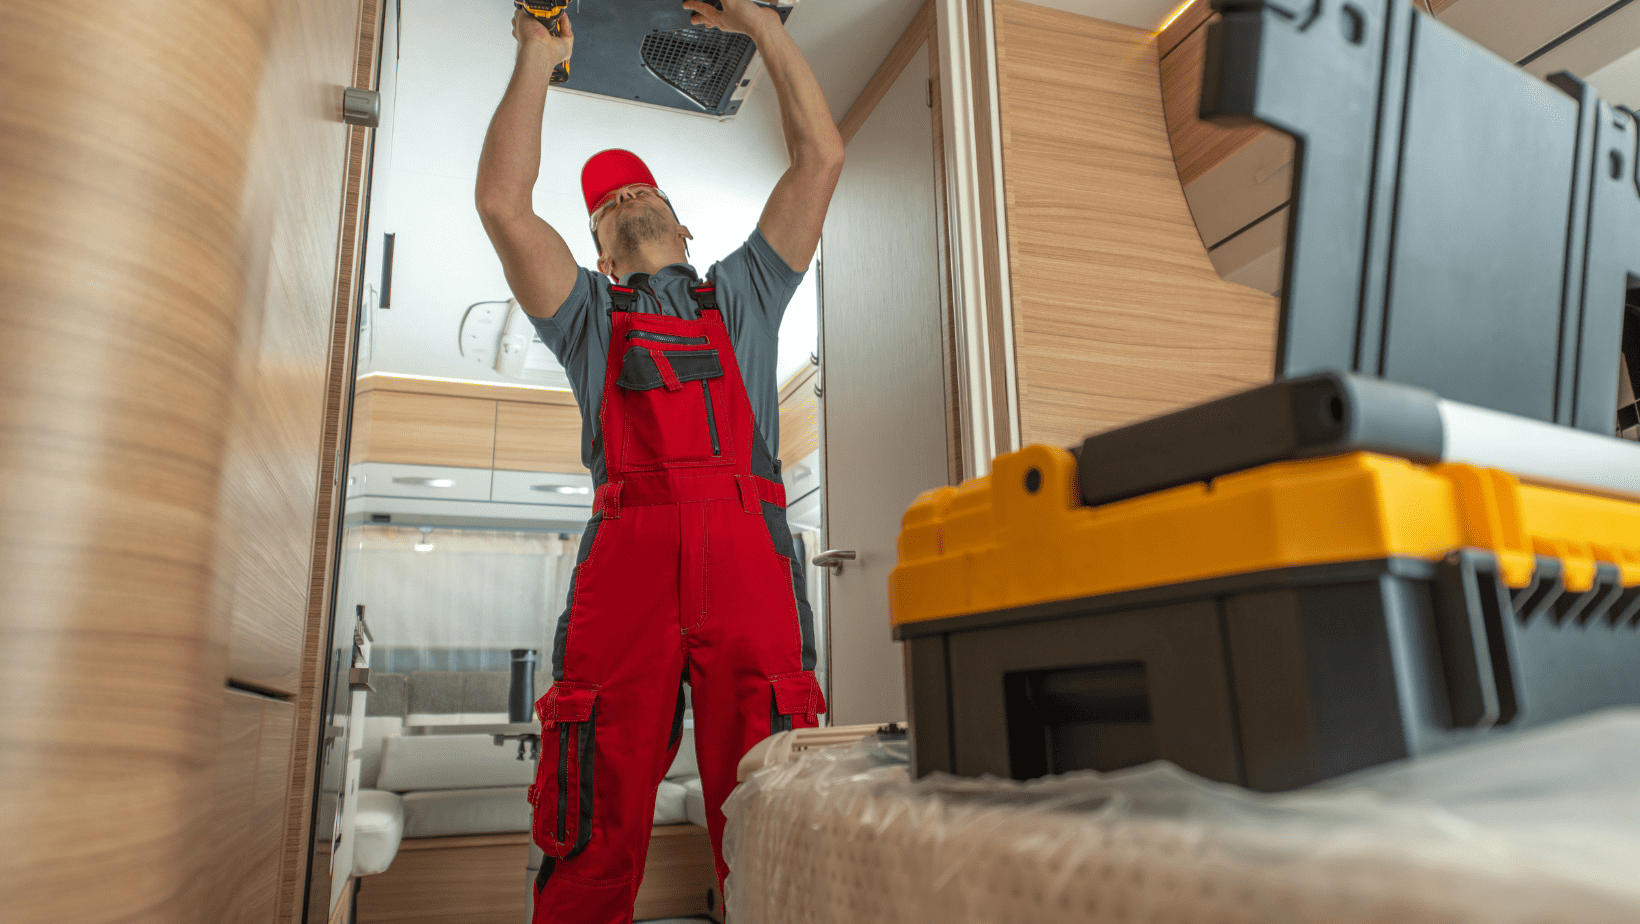 1. Assessing the Damage
1. Assessing the Damage
- Types of Damage: Identify the different types of damage your RV's graphic decals might have, such as cracks, peeling, fading, or bubbling.
- Scope of Repair: Determine the extent of the damage and whether it's a DIY project or requires professional intervention.
- Cleaning Supplies: Gather cleaning agents, a soft cloth, and mild detergent to prepare the decal surface.
- Repair Kit: Invest in a quality RV decal repair kit that typically includes adhesives, touch-up paint, and applicator tools.
- Preparation: Clean the decal surface thoroughly to remove dirt, dust, and contaminants that could hinder the repair process.
- Techniques:* Learn the best cleaning techniques for different types of damage, ensuring the surface is ready for repair.
- Using Adhesive:* Apply the adhesive from your repair kit to seal small cracks or tears in the decal.
- Smooth Application:* Follow the kit's instructions to ensure a smooth application without creating air bubbles.
- Matching Paint:* Choose a paint color that matches the decal and apply it to faded areas using an appropriate brush or applicator.
- Blending:* Blend the touch-up paint to match the surrounding graphic to achieve a seamless finish.
- Adhesive Application:* Apply adhesive underneath peeling or bubbling areas, pressing them back into place.
- Squeegee Use:* Use a squeegee or similar tool to smooth out the repaired areas.
- Sealing the Repair:* Apply a clear coat over the repaired decals to protect them and ensure a uniform finish.
- Drying Time:* Allow the clear coat to dry as per the manufacturer's recommendations.
- Thorough Check:* Inspect the repaired decals from various angles to ensure they are seamless, smooth, and well-matched with the rest of the graphic.
- Regular Cleaning:* Maintain the appearance of your RV's graphic decals by regularly cleaning and protecting them from harsh environmental conditions.
- UV Protection:* Use UV-protective products to prevent future fading and damage.
- Extensive Damage:* If the graphic damage is extensive, it's advisable to consult a professional for a full replacement.