Introduction
A clean and sanitized fresh water tank is crucial for ensuring safe and hygienic drinking water while you're on the road in your RV. Over time, your RV's fresh water tank can accumulate sediment and bacteria, which may affect water quality. Regularly sanitizing the tank is a simple yet essential maintenance task for RV owners. In this guide, we'll walk you through the steps to properly sanitize your RV's fresh water tank, ensuring that you and your fellow travelers can enjoy clean and safe water during your adventures.
 Why Sanitize Your RV Fresh Water Tank?
- Health and Safety: Sanitizing the tank helps eliminate harmful bacteria, viruses, and other contaminants that may have built up over time, ensuring that the water you consume is safe for you and your family.
- Water Quality: Cleaning the tank enhances the taste and smell of your water, providing a more enjoyable and refreshing drinking experience.
- Prevent Odors: Regular sanitization helps prevent foul odors caused by stagnant water and microbial growth.
Step-by-Step Guide: How to Sanitize Your RV Fresh Water Tank
Step 1: Gather the Necessary Supplies
Before you start, make sure you have the following supplies:
- Fresh water hose
- A quarter-cup of household bleach for every 15 gallons of tank capacity
- A funnel
- A measuring cup
- A container to mix the bleach solution
- Access to a water source
Step 2: Prepare the Bleach Solution
- Calculate the amount of bleach you need. Typically, you'll use a quarter-cup of bleach for every 15 gallons of fresh water tank capacity.
- Mix the bleach with water in a container using your funnel. Stir the solution well to ensure even distribution.
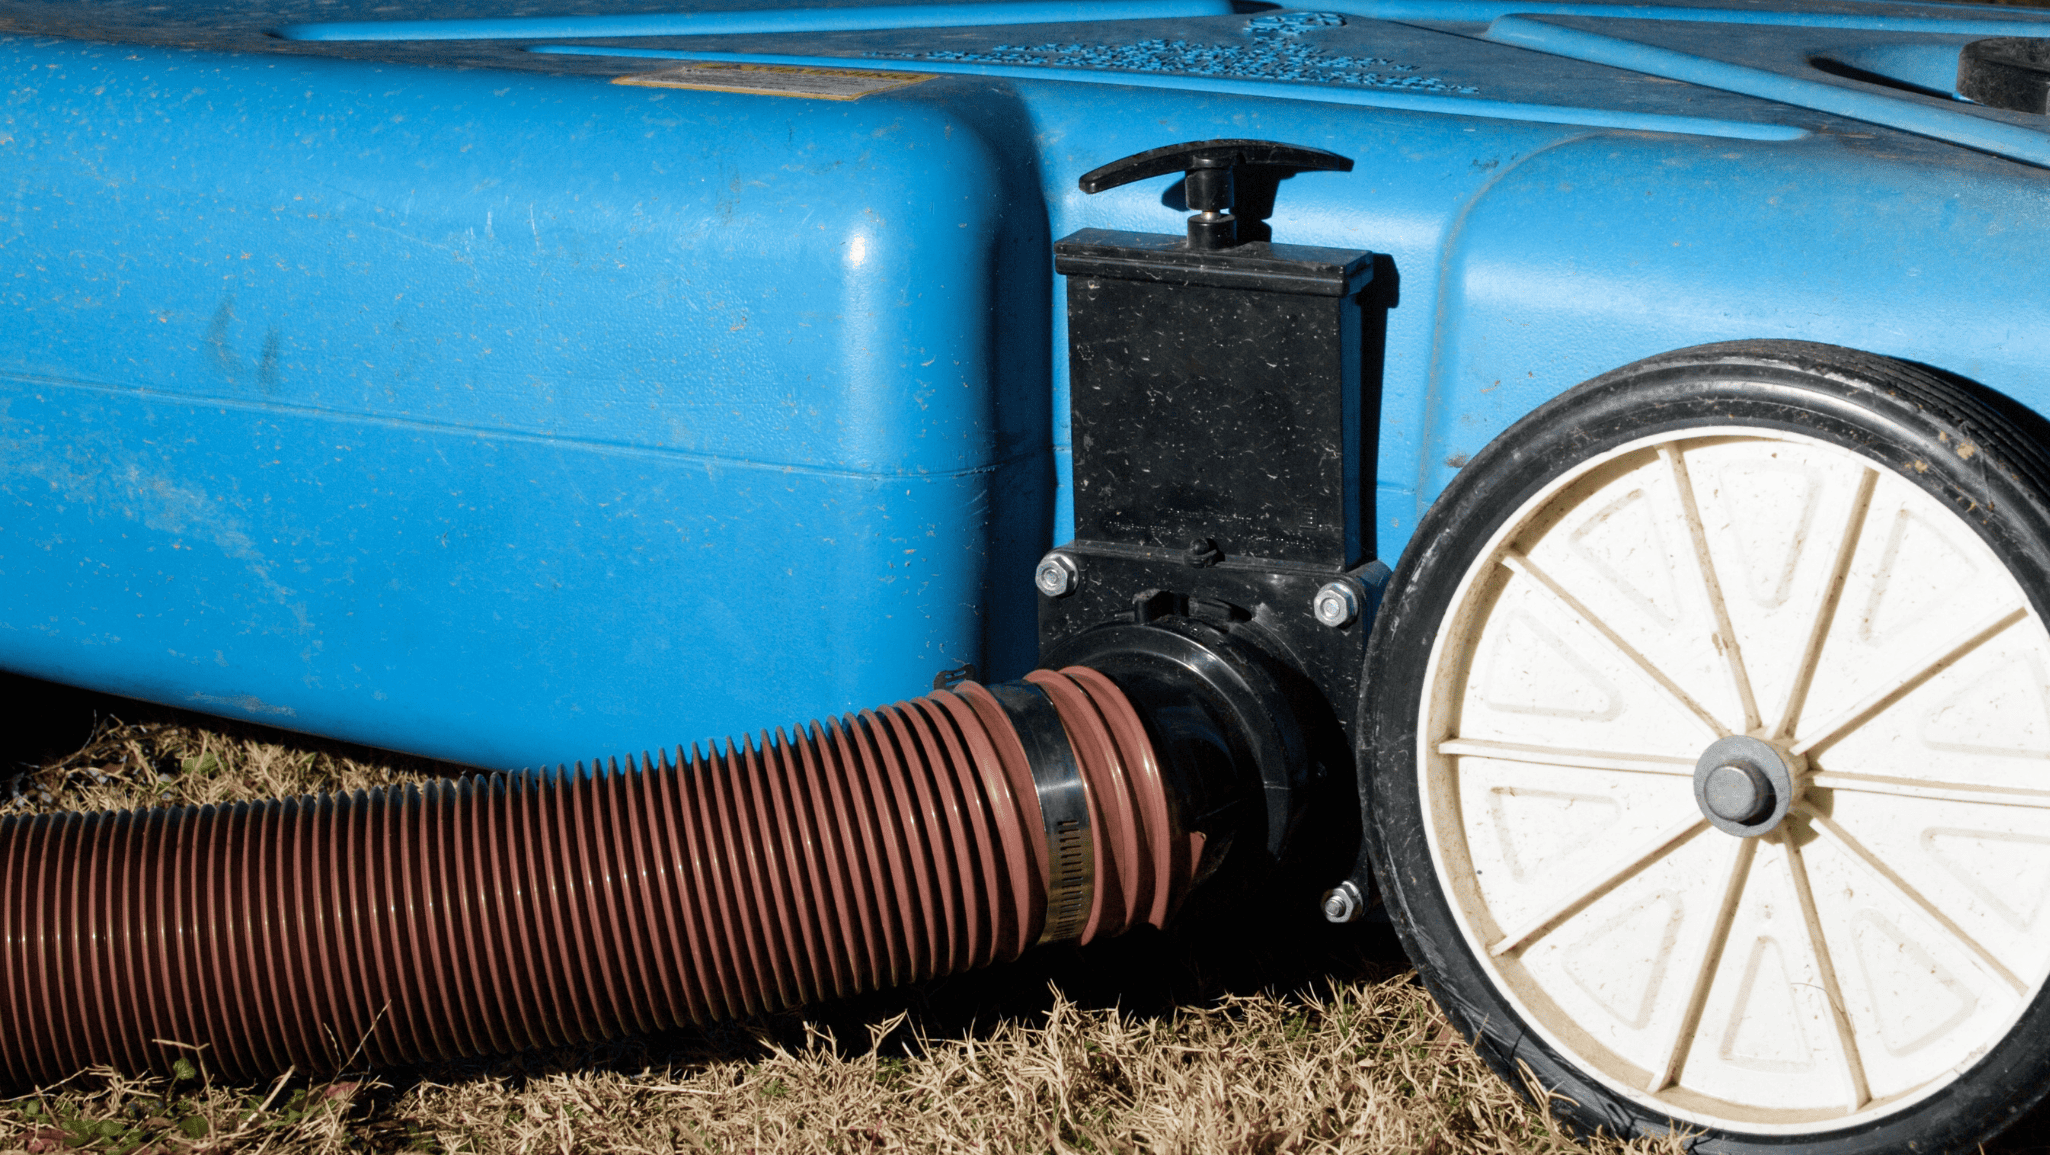
Step 3: Empty the Fresh Water Tank
- Ensure your RV is parked on a level surface.
- Open the drain valve to completely empty the fresh water tank.
Step 4: Pour the Bleach Solution
- Insert the fresh water hose into the bleach solution and then connect it to your RV's fresh water inlet.
- Use the funnel to pour the bleach solution into the hose, allowing it to flow into the tank.
Step 5: Fill the Tank
- Fill the fresh water tank with potable water using the same hose you used to add the bleach solution. Fill it to capacity.
Step 6: Agitate the Solution
- Turn on the water pump or use an external water source to circulate the bleach solution throughout the tank and plumbing system. Run water through all faucets, showerheads, and the toilet until you can smell the bleach in the water.
Step 7: Let It Sit
- Allow the bleach solution to sit in the tank and plumbing system for at least four hours. This extended contact time helps kill bacteria and sanitize the tank.
Step 8: Flush and Rinse
- Drain the tank once more, making sure all the bleach solution is emptied.
- Fill the tank with fresh water and thoroughly flush the system by running water through all faucets and fixtures until the bleach odor is gone.
Step 9: Test the Water
- Finally, check the quality of the water by tasting it. If you still detect bleach, flush the system again until the water is clear.
Conclusion
Regularly sanitizing your RV's fresh water tank is a simple yet vital maintenance task that ensures the safety and quality of the water you consume while traveling. By following these steps carefully and making it a part of your routine, you'll enjoy clean, safe, and refreshing water throughout your RV adventures. Properly sanitized water enhances your RV experience, giving you peace of mind and a healthier, more enjoyable journey on the road.