Dumping your RV’s black and gray tanks might not be the most glamorous part of RVing, but it’s an essential task for maintaining your rig’s cleanliness and functionality. The good news? With the right tools, tips, and tricks, you can tackle this task without getting messy—and even make it a stress-free part of your camping adventure. Here are some practical hacks and advice to keep things clean and simple while emptying your RV tanks.
1. Gear Up for Success
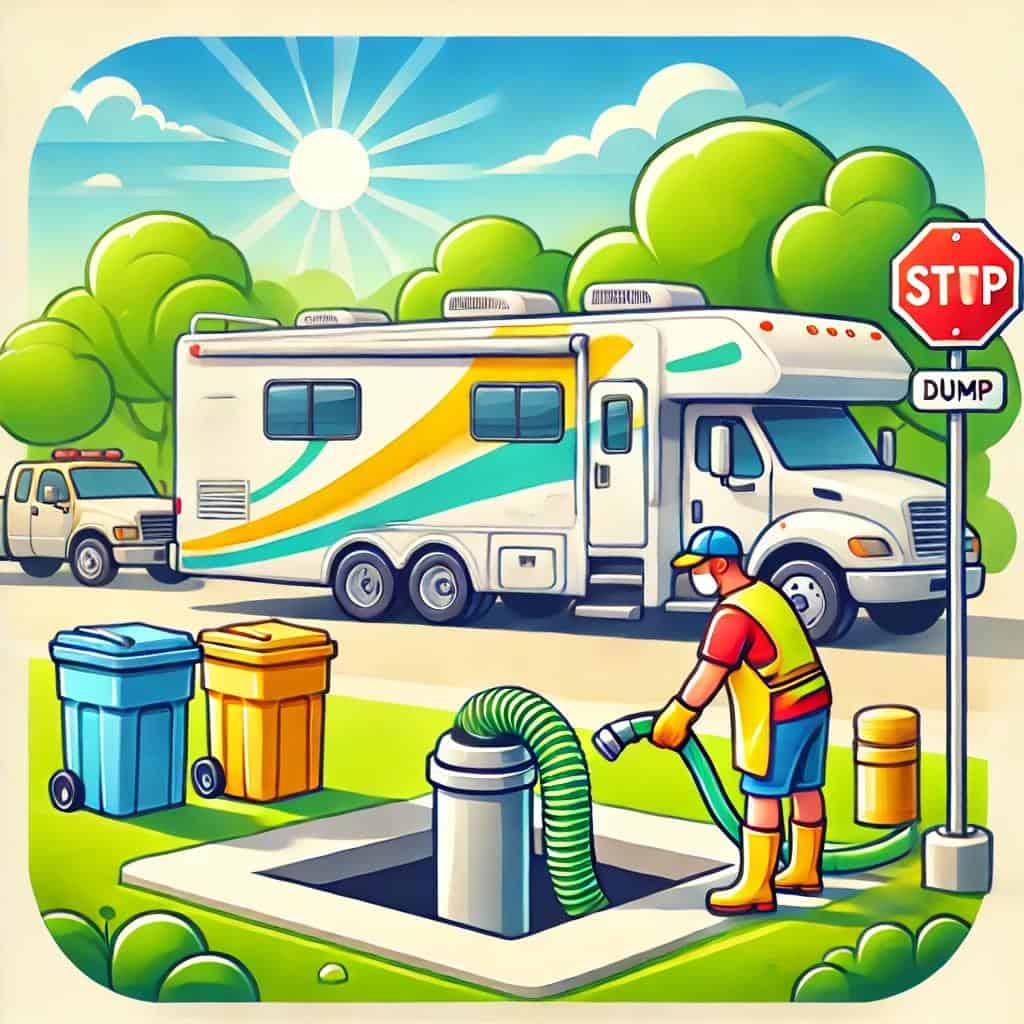
Having the right equipment is half the battle when it comes to dumping your RV tanks. Here's what you’ll need:
- Disposable Gloves: These are non-negotiable. Disposable gloves protect your hands from germs and waste, and they’re easy to throw away when you’re done.
- Sewer Hose Kit: Invest in a high-quality sewer hose that’s durable and easy to connect. Many kits come with clear elbows so you can monitor the flow and ensure everything’s running smoothly.
- Hose Support: A sloped hose support helps waste flow more efficiently into the dump station, reducing the chances of clogs or residue.
- Tank Rinser: A tank rinser, or flush wand, helps keep your black tank clean and free from buildup.
- Hand Sanitizer and Disinfectant Wipes: Keep these handy for quick cleanups after handling hoses and valves.
2. Plan Your Timing Wisely
When and where you dump your tanks can make a big difference. Here are some timing tips:
- Avoid Peak Hours: Busy dump stations can mean rushed work and higher chances of accidents. Early mornings or weekdays are usually quieter times.
- Don’t Wait Until It’s Full: Emptying your tanks before they’re completely full can prevent overflow mishaps and make the process easier.
3. Set Up Like a Pro
Preparation is key to a clean dumping experience. Follow these steps:
- Park Strategically: Position your RV so that your sewer hose reaches the dump station inlet comfortably without unnecessary stretching or bends.
- Inspect the Connections: Before you start, check your sewer hose for any cracks or leaks.
- Secure the Hose: Attach the sewer hose to your RV’s waste valve and the dump station inlet, ensuring both connections are tight and secure.
- Keep the Cap On: Only remove the cap from your RV’s waste valve once everything is securely connected.
4. Follow the Right Dumping Order
Dumping your tanks in the correct order can save you from unwanted messes:
- Start with the Black Tank: This tank contains solid waste and is usually the dirtiest. Dumping it first allows you to use the gray tank’s soapy water to rinse the sewer hose afterward.
- Finish with the Gray Tank: This tank holds water from sinks and showers, which helps flush out any residue from the black tank.
5. Use Gravity to Your Advantage
Gravity is your friend when it comes to emptying your tanks efficiently. Place your sewer hose support under the hose, creating a smooth slope from the RV to the dump station. This ensures waste flows out quickly and minimizes residue.
6. Keep It Clean with a Tank Rinser
A tank rinser or flush system can make a world of difference in keeping your black tank clean. Here’s how to use it:
- Attach the Rinser: Connect the rinser to your RV’s black tank flush port or insert a flush wand through the toilet.
- Run Clean Water: Let fresh water flow through the tank, breaking down solids and rinsing the walls.
- Repeat if Needed: For stubborn buildup, repeat the process until the tank is completely clean.
7. Stay Hands-Free When Possible
Minimizing direct contact with waste is key to staying clean. Consider these hands-free tips:
- Automatic Dump Valves: If your RV is equipped with automatic dump valves, use them to open and close the tanks without manual handling.
- Quick-Release Attachments: Quick-release sewer hose connections can make setup and teardown faster and cleaner.
8. Use Disposable Accessories
Single-use items like disposable gloves and sewer hose caps can reduce the need for cleaning and disinfecting reusable gear. Simply toss them after use for a hassle-free cleanup.
9. Create a Cleaning Routine
A little post-dumping cleanup goes a long way in maintaining your equipment and avoiding unpleasant odors:
- Flush Your Hose: After dumping, run clean water through your sewer hose to rinse away residue.
- Disinfect Connections: Wipe down the connections with disinfectant wipes or spray.
- Store Properly: Store your sewer hose in a dedicated container or compartment to keep it separate from other gear.
10. Stay Prepared for Emergencies
Even with the best preparation, accidents can happen. Be ready with these backup items:
- Extra Gloves: Keep a stash of spare gloves in case you need them.
- Absorbent Pads: Use these to quickly clean up spills or leaks.
- Trash Bags: Always have a few extra trash bags on hand for disposing of used gloves, wipes, and other waste.
11. Practice Makes Perfect
The more you dump your tanks, the more confident you’ll become. If you’re new to RVing, consider watching tutorial videos or practicing at home with clean water to get the hang of it.
12. Avoid Common Mistakes
Learn from the mistakes of others to avoid messy mishaps:
- Forgetting to Close the Valve: Always double-check that the valve is closed before disconnecting the hose.
- Skipping the Hose Inspection: A cracked or leaky hose can lead to a big mess. Inspect it regularly for wear and tear.
- Rushing the Process: Take your time to set up and break down properly. Haste leads to spills and accidents.
13. Keep a Positive Attitude
While dumping your tanks might not be the highlight of your RV trip, it’s an opportunity to practice a valuable skill and keep your RV in top shape. With the right mindset and these helpful hacks, you can turn this chore into a quick and hassle-free task.
RVing is all about adventure and exploration, and maintaining your tanks is just part of the journey. By following these tips, you’ll be able to handle the task confidently and cleanly. So, the next time you pull up to a dump station, you’ll be ready to dump your tanks like a pro without a single mess!